How to Make Decorative Soap at Home: Easy DIY Guide
Making decorative soap at home is fun and easy. It adds a personal touch to your daily routine.
Want to impress your friends with handmade gifts? Learn how to make beautiful, custom soaps at home. It’s simpler than you think. With just a few ingredients and tools, you can create unique soaps that match any style or scent preference.
This craft is perfect for beginners and experts alike. Plus, it’s a great way to use natural ingredients. Follow along to discover the steps to make decorative soap at home. Your bathroom will never look the same again!
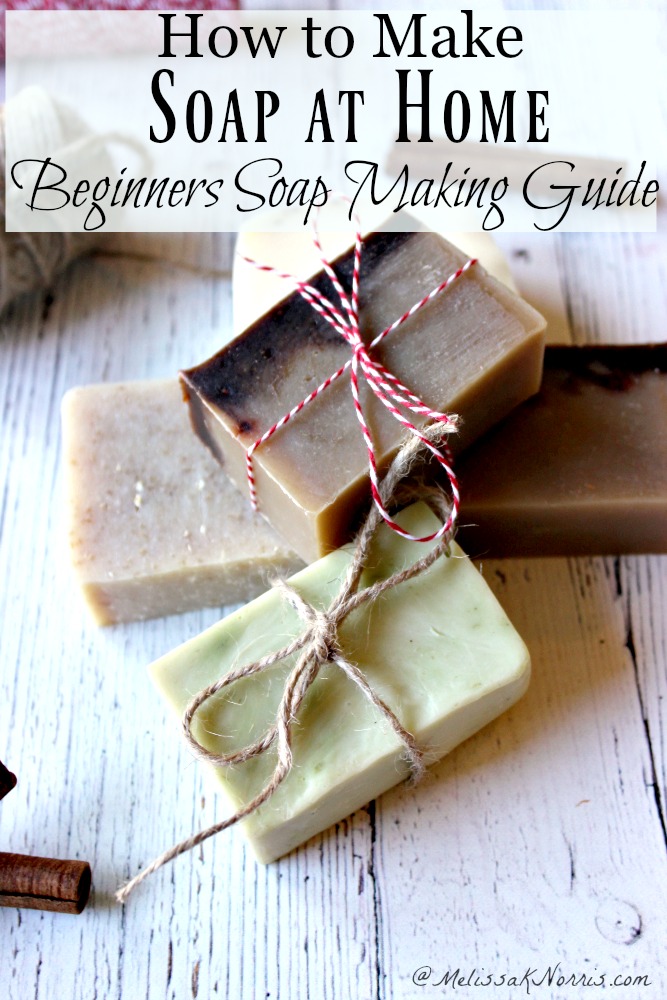
Credit: melissaknorris.com
Introduction To Soap Making
Welcome to the world of soap making! Crafting your own decorative soap at home can be a fun and rewarding experience. It allows you to create personalized, beautiful, and practical items for yourself or as gifts. Let’s dive into the basics of soap making.
Benefits Of Homemade Soap
Homemade soap offers many benefits. Firstly, it gives you control over the ingredients. You can choose natural and skin-friendly options. This is great for sensitive skin types.
Secondly, it’s cost-effective. Making your own soap can save money in the long run. You can make large batches and use them over time.
Thirdly, homemade soap can be personalized. You can create unique designs, scents, and colors. It allows for creativity and personalization.
Essential Ingredients
To make decorative soap, you need a few essential ingredients. The main ingredient is a soap base. This can be glycerin, olive oil, or shea butter based. Choose according to your skin type.
You also need essential oils for fragrance. Lavender, peppermint, and eucalyptus are popular choices. They add a pleasant scent to your soap.
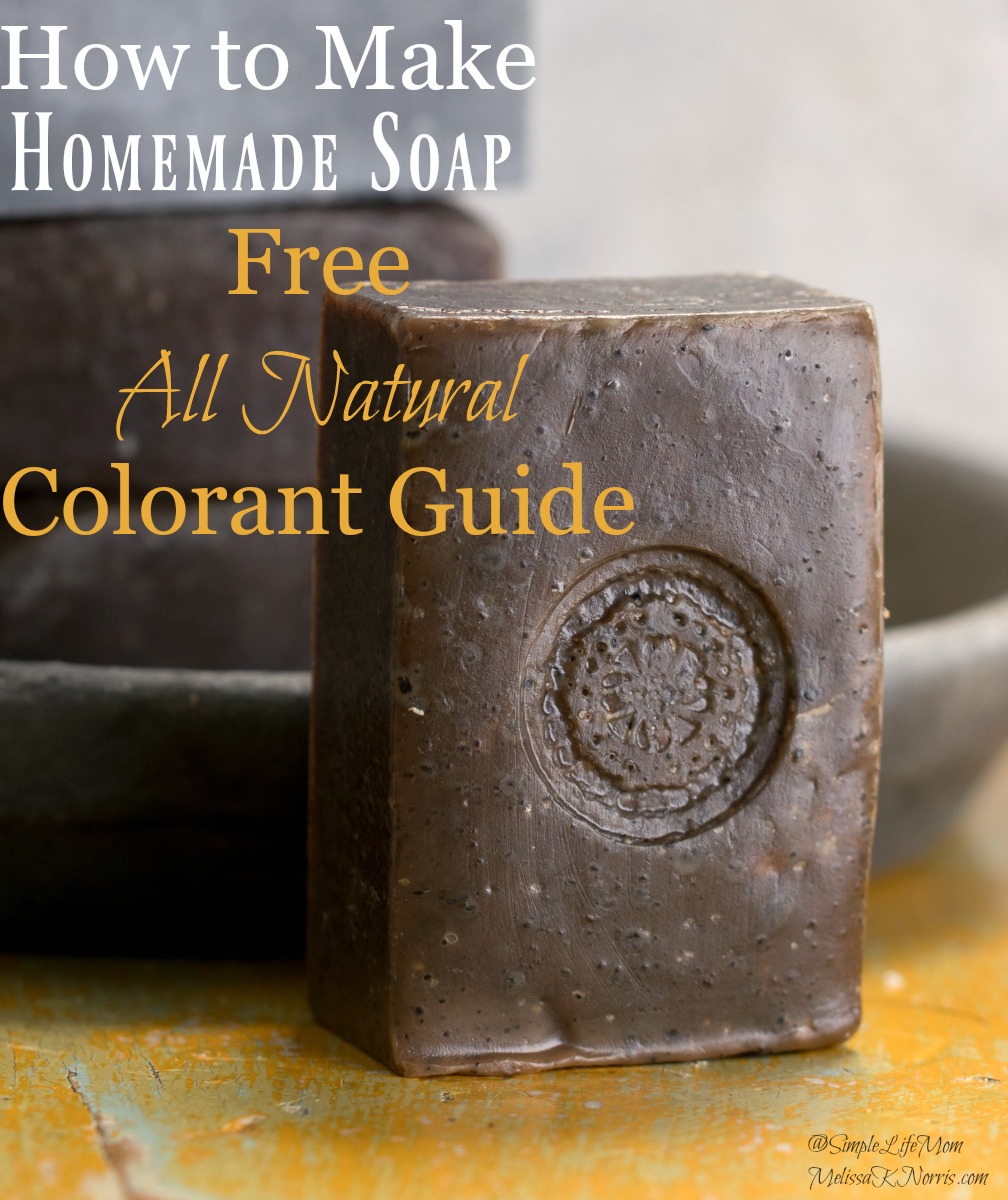
Colorants are important for decorative soap. Natural colorants like mica powder work well. They add beautiful hues without harsh chemicals.
Lastly, consider adding exfoliants. Oatmeal, coffee grounds, or dried herbs make great choices. They enhance the soap’s texture and cleansing properties.
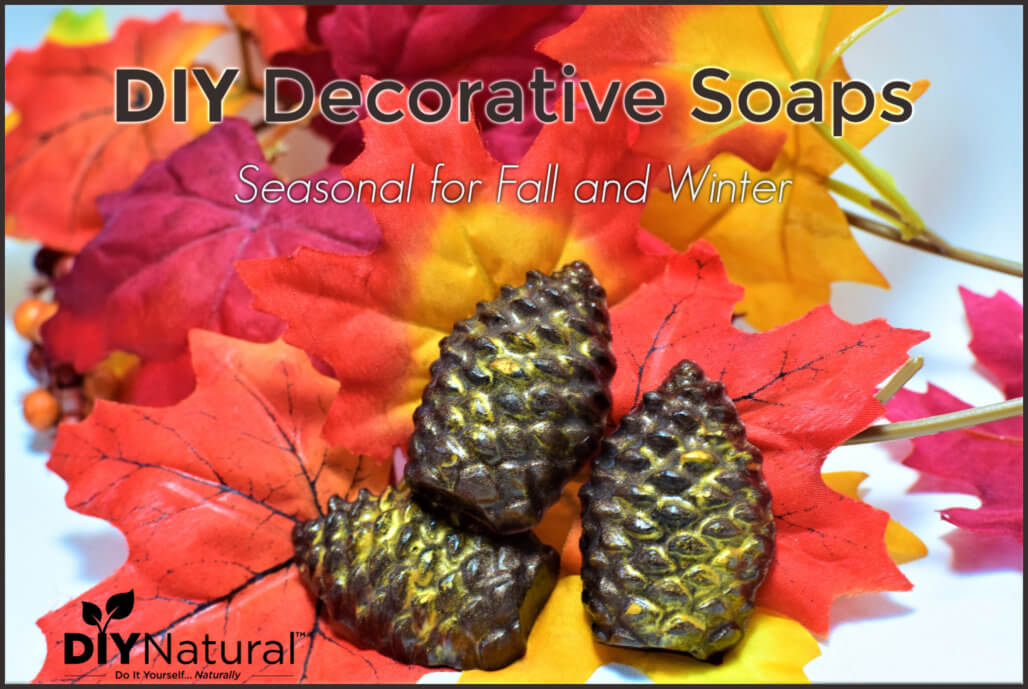
Credit: diynatural.com
Choosing The Right Supplies
Choosing the right supplies is crucial for making decorative soap at home. The right tools and ingredients ensure your soap looks and smells great. Let’s explore the essential supplies you need.
Molds And Tools
Molds shape your soap into beautiful designs. Silicone molds are flexible and easy to use. They come in various shapes and sizes. Plastic molds are sturdy and offer detailed designs. Choose molds based on your preferred style.
Basic tools are also necessary. A digital scale measures ingredients accurately. A thermometer checks the temperature of your soap mix. A stick blender helps blend ingredients smoothly. Soap cutters give your soap clean edges. Measuring spoons and cups ensure precise measurements.
Natural Colorants And Fragrances
Natural colorants add beauty to your soap. Clays, herbs, and spices provide vibrant colors. Activated charcoal gives a deep black hue. Turmeric offers a bright yellow tint. Spirulina creates a green shade. Beetroot powder adds a pink tone.
Fragrances enhance the soap’s appeal. Essential oils are natural and safe. Lavender oil offers a calming scent. Peppermint oil gives a refreshing aroma. Citrus oils, like orange and lemon, provide a zesty fragrance. Choose oils based on your scent preferences.
Safety Precautions
Creating decorative soap at home is a fun and rewarding activity. It allows you to express your creativity while making something useful. But safety is crucial. Especially when handling certain materials. Let’s explore some important safety precautions.
Handling Lye Safely
Lye is a necessary ingredient in soap making. But it can be dangerous. Always handle it with care. Work in a well-ventilated area. Avoid inhaling the fumes. Keep children and pets away. Store lye in a secure place. Follow instructions carefully. Measure accurately. Never mix lye with water directly. Add lye to water slowly. Stir gently to avoid splashes.
Protective Gear
Protective gear is essential. Wear safety goggles. They protect your eyes from splashes. Use long sleeves and gloves. They shield your skin. Choose gloves made of rubber or nitrile. An apron helps keep your clothes clean. Closed-toe shoes are a must. They protect your feet from spills. A mask can help reduce inhalation of fumes. Safety first, always.
Basic Soap Making Process
The basic soap making process is both fun and creative. It allows you to craft beautiful, personalized soaps at home. This guide will help you through the essential steps.
Preparing The Workspace
First, choose a clean and well-ventilated area. Ensure you have all your tools ready. You will need a mixing bowl, a thermometer, and molds. Lay down newspaper or a protective cover on your workspace.
Wear protective gear, including gloves and goggles. Safety first! Ensure your workspace is free from distractions. This will help you focus on the task.
Mixing Ingredients
Start by measuring your ingredients accurately. Use a kitchen scale for precision. Mix the lye with water carefully. Always pour lye into water, not the other way around. Stir until it dissolves completely.
Next, heat your oils to the right temperature. Use your thermometer to monitor this. Once both the lye and oils are at similar temperatures, combine them. Stir the mixture gently and consistently.
Use a stick blender to reach “trace.” This means the mixture thickens slightly. Add your chosen fragrances and colors at this point. Pour the mixture into your molds. Allow the soap to set and cure for several weeks.
Adding Decorative Elements
Adding decorative elements to your homemade soap can make it unique and beautiful. These elements not only enhance the soap’s appearance but also make it a special gift. Let’s explore some creative ways to add decorative elements to your soap.
Embedding Objects
One popular method is embedding objects into the soap. This involves placing small items inside the soap before it hardens. You can use:
- Dried flowers
- Herbs
- Small toys
- Glitter
To embed objects, pour a small layer of soap into the mold. Place the object on the layer. Then, pour more soap to cover the object completely. Ensure the object is safe for skin contact and won’t affect the soap’s quality.
Creating Swirls And Layers
Creating swirls and layers adds a colorful and artistic touch to your soap. These techniques involve using different colors and pouring methods.
Swirls: To create swirls, divide your soap mixture into separate bowls. Add different colorants to each bowl. Pour each colored soap into the mold in a random pattern. Use a stick or spoon to swirl the colors together gently.
Layers: For layers, pour a layer of soap into the mold and let it harden slightly. Add another layer with a different color or texture. Repeat until the mold is full. Each layer should be distinct and create a beautiful, stacked effect.
| Technique | Steps |
|---|---|
| Embedding Objects |
|
| Creating Swirls |
|
| Creating Layers |
|
These techniques can make your soap look stunning and professional. Experiment with different elements and colors. Enjoy the creative process of making decorative soap at home.
Curing And Cutting Soap
Making decorative soap at home is a fun and creative project. Once you have crafted your soap, the next critical steps are curing and cutting. These steps are vital to ensure your soap hardens properly and looks beautiful.
Curing Time
The curing time is essential for soap-making. It allows the soap to harden and develop. Typically, curing takes about 4 to 6 weeks. During this period, place your soap bars on a drying rack. Ensure they are in a cool, dry place with good air circulation.
Rotate the soap bars every few days. This ensures even curing. Patience is key here. The longer the soap cures, the better its quality. Proper curing helps the soap last longer and perform better.
Cutting Techniques
Once your soap has cured, it’s time to cut it. Cutting techniques can vary based on the soap’s design and your preferences. Here are some common methods:
- Using a Knife: A sharp kitchen knife works well for simple cuts. Warm the knife slightly to get smooth cuts.
- Soap Cutter: A soap cutter can ensure uniform pieces. These come in various styles, including single-wire and multi-wire cutters.
- Cookie Cutters: For fun shapes, use cookie cutters. Press them into the soap to create unique designs.
Ensure to cut the soap evenly. This helps each bar cure uniformly and look professional. For a decorative touch, bevel the edges with a potato peeler. This removes sharp corners and gives a polished look.
Experiment with different techniques to find what suits you best. Cutting soap is an art. Each method can give your soap a unique finish.
Packaging And Storing Soap
Once you have made your beautiful decorative soap, packaging and storing it correctly is key. Proper packaging enhances the soap’s look and extends its life. Good storage keeps the soap fresh and fragrant.
Wrapping Options
There are many ways to wrap your decorative soap. Choose a method that suits the soap’s shape and size.
- Plastic wrap: This keeps the soap fresh and prevents drying.
- Wax paper: Ideal for a more rustic, homemade look.
- Fabric wraps: Use small pieces of cloth for an eco-friendly option.
- Gift boxes: These are perfect for presenting the soap as a gift.
| Wrapping Material | Advantages |
|---|---|
| Plastic Wrap | Keeps soap fresh and moist |
| Wax Paper | Gives a rustic look |
| Fabric Wraps | Eco-friendly and reusable |
| Gift Boxes | Great for gifting |
Storage Tips
Storing your decorative soap correctly is important for maintaining its quality. Follow these tips to ensure your soap stays in perfect condition.
- Store in a cool, dry place. Avoid direct sunlight.
- Use airtight containers to keep the soap’s fragrance.
- Keep soaps separate to prevent scent mixing.
- Label the storage container with the soap type and date made.
Proper storage ensures your decorative soap remains beautiful and fragrant. Following these simple steps will help you enjoy your handmade soap for longer.

Credit: soapdelinews.com
Creative Soap Ideas
Unleash your creativity with homemade decorative soap. Crafting soap at home allows you to personalize designs, colors, and scents. It’s a fun and rewarding activity for all ages. Discover some creative soap ideas that will inspire your next project.
Holiday Themes
Transform your soap-making into a festive affair with holiday-themed designs. For Christmas, use molds shaped like snowflakes, trees, and ornaments. Red, green, and white colors create a classic look. Add peppermint or pine scents for a seasonal touch.
For Halloween, try spooky shapes like pumpkins, bats, and ghosts. Use orange, black, and purple colors. Scents like pumpkin spice or cinnamon will set the mood. Easter-themed soaps can feature bunnies, eggs, and pastel colors. Lavender or floral scents work well.
Gift Sets
Handmade soap makes a thoughtful gift. Create sets with different shapes, colors, and scents. For a spa-themed gift, include calming scents like lavender or chamomile. Use soothing colors like blue and green. Add a loofah or washcloth for a complete package.
Baby shower gifts can feature soft pastel colors and gentle scents like baby powder. Use molds shaped like baby items: bottles, pacifiers, and teddy bears. For birthdays, tailor the soap to the recipient’s favorite colors and scents. Personalize with their initials or a special message.
Experiment with different combinations to make each gift unique. Packaging is key. Use decorative boxes, ribbons, and tags to present your soap beautifully.
Troubleshooting Common Issues
Making decorative soap at home can be fun and rewarding. But, sometimes, you might face common issues that can ruin your soap-making experience. Here, we address some of these common problems. This will ensure your homemade soap looks and smells perfect every time.
Fixing Texture Problems
Texture issues can arise due to various reasons. If your soap is too soft, it may not have cured long enough. Ensure you allow adequate curing time. If it is still soft, try adding less water next time.
If your soap is too hard, it might have too much lye. Check your measurements carefully. Using a digital scale can help with accuracy. Also, make sure you are not using old or expired lye.
Grainy soap can be a result of undissolved lye. Stir the mixture thoroughly to ensure all lye dissolves. Additionally, consider using distilled water to avoid impurities. This can help in making a smoother soap.
Avoiding Scent Fading
Scent fading is a common issue in homemade soaps. Using high-quality essential oils can reduce this problem. Be sure to add the oils at the right temperature. This helps to retain their scent.
Store your soap in a cool, dark place. Exposure to light and heat can make scents fade faster. Wrap your soap in paper to protect it from light.
Using fragrance oils specifically designed for soap-making can also help. They tend to hold their scent better over time. This can ensure your soap smells delightful long after it is made.
Conclusion
Creating decorative soap at home is fun and easy. You can customize each bar. Choose your favorite scents and colors. This activity is perfect for gift-giving. It’s also a great way to relax. Follow the steps and enjoy the process.
Your friends and family will love these unique soaps. Start today and discover your creative side. Making soap at home can be a rewarding hobby. Plus, it ensures you know what ingredients are in your soap. Enjoy crafting and happy soap-making!
