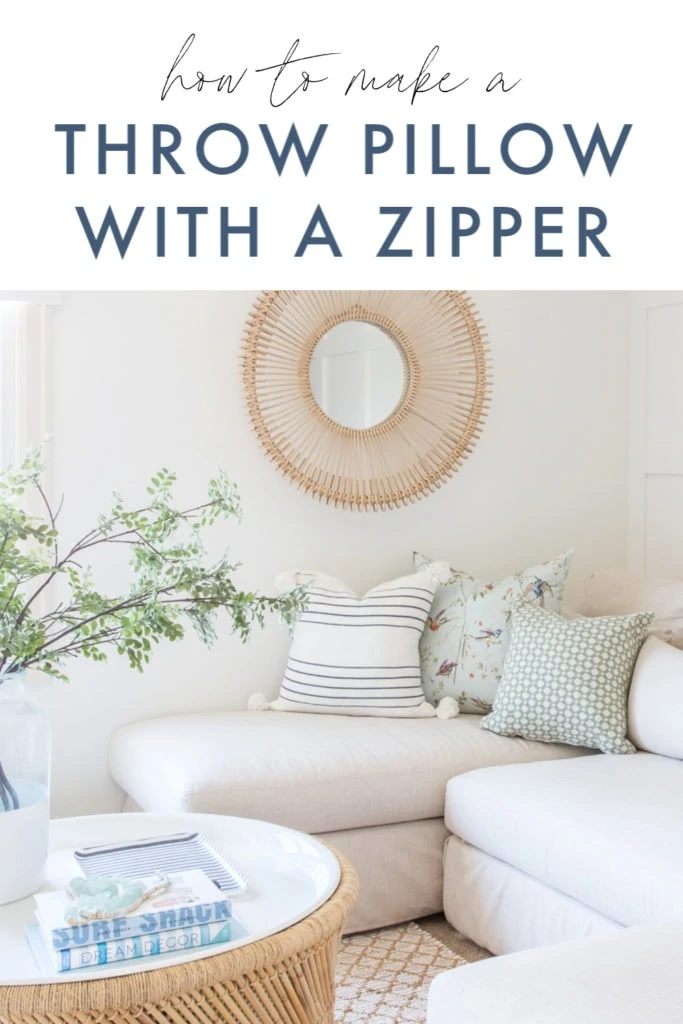
How to Make Decorative Pillows at Home: DIY Tips & Tricks
Making decorative pillows at home is fun and rewarding. They can add a personal touch to any room.
You can create beautiful designs that reflect your style. Decorative pillows can transform your space. They are easy to make and budget-friendly. You can use various fabrics, colors, and patterns to match your decor. Whether you want a pop of color or a subtle accent, homemade pillows are the perfect solution.
This guide will show you simple steps to make your own decorative pillows. Get ready to unleash your creativity and add charm to your home with custom-made pillows. Let’s dive into the world of DIY decorative pillows!
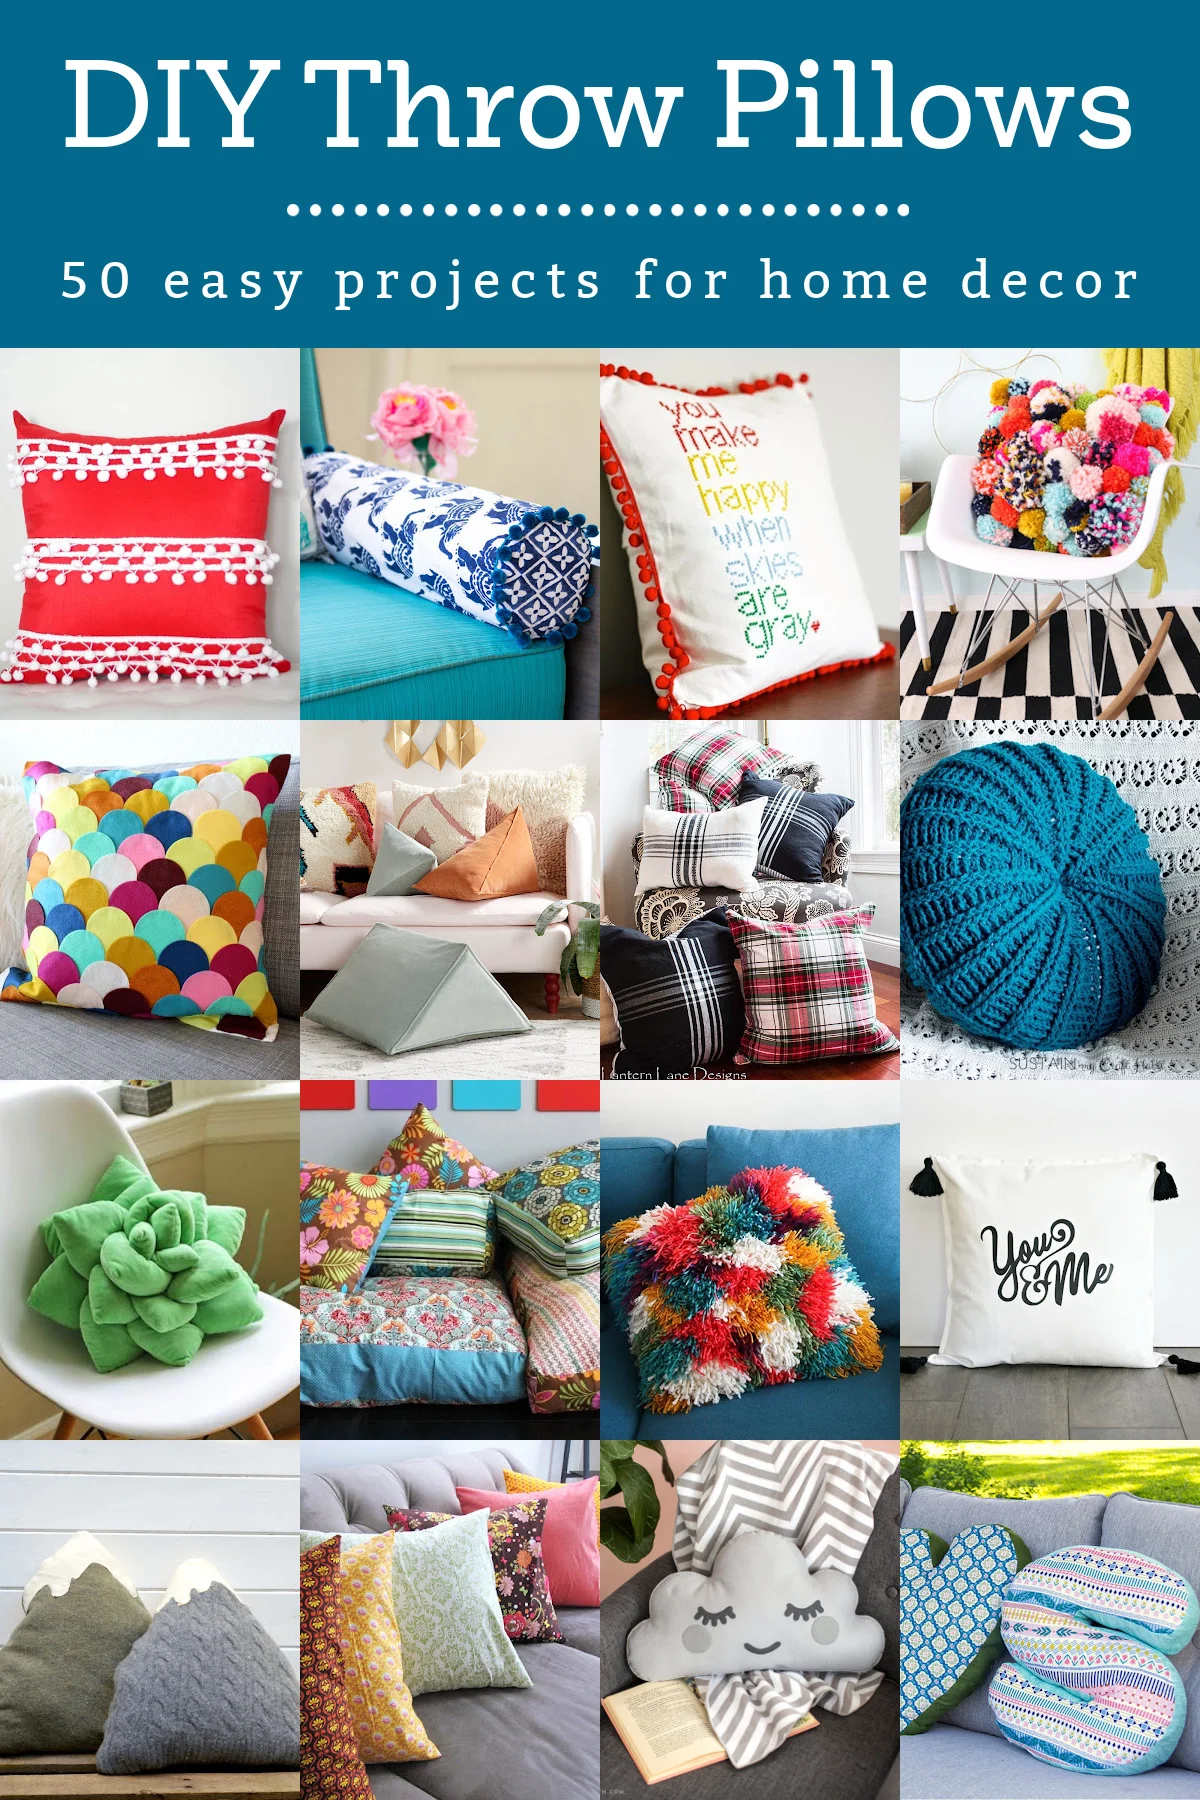
Credit: diycandy.com
Materials And Tools
Creating your own decorative pillows can be a fun and satisfying project. To start, you need to gather the right materials and tools. The right supplies ensure your project goes smoothly and your pillows look professional. Below, we’ll cover the essential supplies and some optional extras that can add a special touch to your creations.
Essential Supplies
Here is a list of the basic supplies you will need:
- Fabric: Choose a durable and attractive fabric. Cotton, linen, or velvet work well.
- Thread: Match the thread color to your fabric for a seamless look.
- Scissors: Sharp fabric scissors make cutting easier and more precise.
- Sewing Machine: A basic sewing machine will speed up the sewing process.
- Pillow Inserts: These give shape to your decorative pillows. Choose the size based on your pillow cover.
- Measuring Tape: Ensure accurate measurements for cutting your fabric.
- Pins: Keep your fabric in place while you sew.
- Iron: Press your fabric and seams for a professional finish.
Optional Extras
These extras can add a unique touch to your pillows:
- Piping: Adds a decorative edge to your pillows.
- Zippers: Make your pillow covers removable for easy washing.
- Buttons: Decorative buttons can add style and function.
- Embroidery Floss: For adding personalized designs or monograms.
- Trim: Tassels, fringe, or lace can add a special touch.
Having the right materials and tools will make your pillow-making project enjoyable and successful. Start with the essentials, and consider adding some optional extras to make your pillows stand out. Happy crafting!

Credit: sugarandcloth.com
Choosing Fabric
Choosing the right fabric is crucial for making beautiful decorative pillows at home. The fabric you select will affect the pillow’s look, feel, and durability. Let’s explore some options to help you decide.
Types Of Fabric
Different fabrics offer various textures and appearances. Here are a few popular choices:
- Cotton: Soft, breathable, and easy to clean. Ideal for a casual look.
- Linen: Durable and has a natural, rustic charm. Perfect for a cozy feel.
- Velvet: Luxurious and soft. Adds an elegant touch to any room.
- Silk: Smooth and shiny. Great for a sophisticated appearance.
- Polyester: Affordable and resistant to wrinkles. Suitable for everyday use.
Pattern Selection
Choosing the right pattern is just as important as the fabric type. Patterns add personality to your pillows. Here are some tips:
- Stripes: Simple and classic. Works well with any decor.
- Floral: Adds a touch of nature. Great for a vintage or romantic feel.
- Geometric: Modern and bold. Perfect for a contemporary look.
- Abstract: Unique and artistic. Ideal for making a statement.
Mixing different patterns can create an interesting and dynamic design. Just remember to balance busy prints with solid colors to avoid overwhelming the space.
Cutting Fabric
Cutting fabric is a crucial step in making decorative pillows. It sets the foundation for your pillow’s shape and size. Precise cutting ensures that your pillow will look professional and fit perfectly into your home decor.
Measuring Tips
Before cutting, always measure your fabric carefully. Use a measuring tape for accurate dimensions. Measure twice to avoid mistakes. It’s best to mark your measurements on the fabric with chalk or a fabric pen.
Ensure you add an extra inch for seam allowances. This extra fabric helps when sewing the pillow edges. For a 16×16 inch pillow, cut the fabric to 18×18 inches.
Follow these tips for better accuracy:
- Flatten the fabric on a smooth surface.
- Iron the fabric to remove wrinkles.
- Double-check your measurements before cutting.
Cutting Techniques
For clean and straight cuts, use sharp fabric scissors. Dull scissors can ruin the fabric edge. Hold the fabric firmly and cut along the marked lines.
If you prefer, use a rotary cutter and cutting mat. This tool helps in making precise cuts, especially on large pieces of fabric. Always cut slowly and steadily to avoid mistakes.
Here’s a simple step-by-step:
- Lay the fabric on a flat surface.
- Mark the measurements with chalk or a fabric pen.
- Hold the fabric steady with one hand.
- Cut along the marked lines with sharp scissors or a rotary cutter.
You may also use a ruler or straight edge to guide your cutting. This ensures straight and even lines.
Sewing Basics
Creating decorative pillows at home can be a fun and rewarding project. Understanding the basics of sewing is essential for success. In this section, we’ll cover the fundamental skills you need to get started. We’ll explore various stitch types and how to set up your sewing machine. Let’s dive into the world of sewing basics!
Stitch Types
Different stitches serve different purposes. The straight stitch is the most common. It’s great for seams and topstitching. The zigzag stitch is useful for finishing raw edges. It helps prevent fraying. The backstitch is strong and durable. Use it to secure the start and end of your seams. Practicing these stitches will improve your sewing skills.
Sewing Machine Setup
Proper machine setup is crucial for smooth sewing. Start by threading your machine correctly. Follow the instructions in the manual. Ensure the bobbin is wound and placed in its case. Adjust the tension settings for different fabrics. Test your stitches on a scrap piece first. Make sure your needle is suitable for the fabric type. Change it if it’s dull or bent. Keep your machine clean and oiled. Regular maintenance extends its life. Happy sewing!
Adding Embellishments
Adding embellishments to your decorative pillows can make them unique and stylish. These touches can turn a simple pillow into a work of art. Let’s explore some easy ways to add embellishments to your pillows.
Buttons And Beads
Buttons and beads can add a touch of elegance to your pillows. Choose buttons that match the color and style of your fabric. Sew them onto the pillow in a pattern that you like. Beads can create a sparkling effect. Sew them carefully to ensure they stay in place. Arrange them in lines, shapes, or even random patterns.
Embroidery And Appliqué
Embroidery adds a personal touch to your pillows. Use embroidery floss to stitch designs onto your fabric. You can create flowers, animals, or abstract patterns. Appliqué involves sewing pieces of fabric onto the pillow. Choose fabrics that contrast with your pillow cover. Cut out shapes and sew them onto the pillow. This technique adds depth and interest to your design.
Stuffing Options
Decorative pillows can transform any space with a pop of color and style. One of the key aspects to consider is the stuffing options. The right stuffing can make your pillow both comfortable and aesthetically pleasing. Let’s explore the different types of fillings and stuffing techniques to create the perfect decorative pillow at home.
Types Of Fillings
Choosing the right filling is crucial for comfort and appearance. Here are some popular options:
- Polyester Fiberfill: This is a common choice for its softness and affordability. It’s easy to find and work with, making it ideal for beginners.
- Feather and Down: These provide a luxurious feel and are very soft. They can be more expensive but offer great comfort.
- Foam: Foam is a great option for firmer pillows. It retains its shape well and is durable.
- Recycled Materials: Eco-friendly options like shredded fabric or old clothes can be used. They are sustainable and add a unique texture.
Stuffing Techniques
The way you stuff your pillow can affect its final look and feel. Here are some techniques:
- Hand Stuffing: This is the most straightforward method. Simply push the filling into the pillow cover evenly. Make sure to reach all corners for a smooth finish.
- Layering: For a more structured pillow, layer different types of stuffing. Start with a foam base and add a softer top layer like polyester fiberfill.
- Overstuffing: Overstuffing your pillow can give it a plump, luxurious look. Use more filling than you think you need for a firm and full appearance.
- Understuffing: If you prefer a softer, more relaxed pillow, use less filling. This will make the pillow more flexible and cuddly.
Experiment with these stuffing options to find what works best for you. Each type of filling and technique can create a different look and feel for your decorative pillows. Happy crafting!
Finishing Touches
The finishing touches on your decorative pillows make them unique. These final steps ensure your pillows stand out and look professional. Let’s explore how to add these special touches.
Seam Closures
Choosing the right seam closure is crucial. It keeps the pillow cover secure and neat. There are several options:
- Zippers: Zippers are durable and invisible when closed. They are ideal for a clean look.
- Envelope Closures: Easy to sew and remove, making cleaning simple. They overlap at the back.
- Buttons: Add charm and style. They can be decorative too.
Consider the pillow’s use and your sewing skills when choosing a seam closure.
Decorative Edging
Edging can transform a simple pillow into a statement piece. Here are some popular choices:
- Piping: Adds a tailored, polished look. It outlines the pillow shape.
- Fringe: Fun and playful. Fringe adds texture and movement.
- Ruffles: Give a soft, romantic feel. Perfect for a vintage look.
- Pom-Poms: Add a whimsical touch. Great for kids’ rooms.
Choose an edging that complements your room’s decor and the pillow fabric.
Finishing touches are essential. They elevate your handmade pillows from simple to stunning. Pay attention to seam closures and decorative edging. Your pillows will reflect your personal style and effort.
Care And Maintenance
Proper care and maintenance of your decorative pillows can extend their lifespan and keep them looking fresh. Let’s explore some essential tips to keep your homemade pillows in top-notch condition.
Cleaning Tips
Cleaning your decorative pillows can seem daunting, but it’s quite simple. Here are some easy steps:
- Read the Label: Always check the care instructions.
- Spot Clean: Use mild soap and water for small stains.
- Machine Wash: If the label allows, wash pillow covers on a gentle cycle.
- Drying: Air dry or tumble dry on low heat.
For stubborn stains, consider using a fabric cleaner. Test the cleaner on a small area first.
Storage Solutions
Storing your decorative pillows properly ensures they stay in good shape. Use these tips:
- Use Storage Bags: Place pillows in breathable storage bags.
- Keep in a Dry Place: Store in a cool, dry area to prevent mold.
- Avoid Compression: Do not stack heavy items on top of pillows.
Proper storage not only saves space but also maintains the pillow’s fluffiness and shape.
| Do’s | Don’ts |
|---|---|
| Follow care labels | Ignore washing instructions |
| Spot clean regularly | Use harsh chemicals |
| Store in dry areas | Compress under heavy items |
By following these care and maintenance tips, your homemade decorative pillows will remain beautiful and functional for years to come.
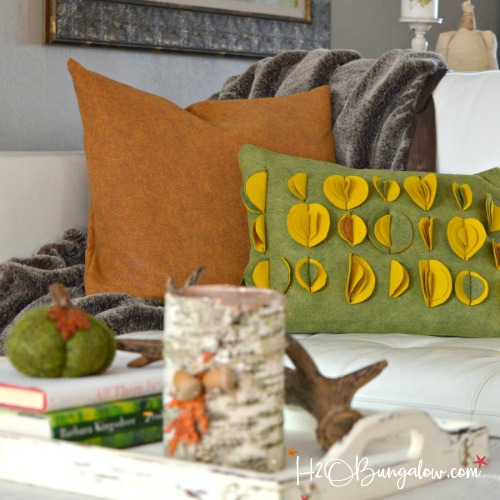
Credit: h2obungalow.com
Conclusion
Creating decorative pillows at home is both fun and rewarding. You can customize your space easily. Personalize colors, patterns, and sizes to fit your style. Save money by using leftover fabrics. Enjoy the satisfaction of a DIY project. With basic sewing skills, anyone can start.
Follow these simple steps for beautiful results. Happy crafting! Your home will thank you.
