How to Make Chocolate Decorations at Home: Easy & Fun Tips
Making chocolate decorations at home is easier than you think. With simple tools and ingredients, you can create stunning treats.
Chocolate decorations add elegance to any dessert. Whether you’re a beginner or a seasoned baker, crafting these decorations can be a fun and rewarding experience. Imagine the joy of presenting beautifully adorned cakes, cupcakes, or even hot cocoa topped with your handmade chocolate art.
Not only do these creations look impressive, but they also taste amazing. Plus, making them at home gives you control over the ingredients, ensuring they are fresh and of high quality. In this guide, we will explore step-by-step instructions and tips to help you create your own chocolate decorations, turning your homemade treats into a feast for the eyes and the taste buds.
Introduction To Chocolate Decorations
Chocolate decorations can make any dessert look stunning. These decorations are not just for professional bakers. You can make them at home with some basic tools and ingredients. They add a touch of elegance and taste to your creations.
Why Make Your Own?
There are several reasons to make your own chocolate decorations:
- Customization: You can create designs that match your style.
- Freshness: Homemade decorations are fresher than store-bought ones.
- Cost-Effective: Making them at home can save money.
- Fun: It is a fun activity to do with family or friends.
Basic Tools And Ingredients
To start making chocolate decorations, you will need some basic tools and ingredients:
| Tools | Ingredients |
|---|---|
|
|
With these tools and ingredients, you can create various chocolate decorations. Melt the chocolate using a double boiler or a microwave. Pour it into piping bags for detailed designs. Use molds for more intricate shapes.

Credit: www.youtube.com
Choosing The Right Chocolate
Choosing the right chocolate is crucial for making beautiful and tasty decorations. The type and quality of chocolate can affect the final look and flavor. Let’s explore the best options.
Types Of Chocolate
There are several types of chocolate to consider. Each has unique properties and uses:
- Dark Chocolate: Rich in flavor, perfect for elegant decorations.
- Milk Chocolate: Sweeter and creamier, ideal for kids’ treats.
- White Chocolate: Mild and sweet, great for color contrasts.
- Compound Chocolate: Easy to melt, perfect for beginners.
Best Brands For Decorating
Using high-quality chocolate ensures smooth melting and beautiful results. Here are some top brands:
| Brand | Type | Notable Features |
|---|---|---|
| Valrhona | Dark, Milk, White | High-quality, smooth texture |
| Callebaut | Dark, Milk, White | Easy to melt, consistent results |
| Ghirardelli | Dark, Milk, White | Rich flavor, widely available |
| Guittard | Dark, Milk, White | Premium quality, great for baking |
Choosing the right chocolate will set you up for success. Whether you prefer dark, milk, or white, pick a quality brand. Your decorations will look stunning and taste delicious.
Molding Chocolate Shapes
Creating chocolate decorations at home can be a fun and rewarding experience. By learning to mold chocolate shapes, you can make beautiful and delicious treats. The process is quite straightforward, and you only need a few tools and ingredients. Let’s dive into some techniques for molding chocolate shapes.
Simple Molds
Simple molds are perfect for beginners. You can find silicone molds in various shapes at many stores. Melt your chocolate using a double boiler or microwave. Pour the melted chocolate into the molds. Tap the mold gently to remove air bubbles. Place the mold in the fridge until the chocolate sets. Once set, gently pop the chocolate out of the molds. These simple shapes are great for decorating cakes or cupcakes.
Advanced Molding Techniques
Advanced techniques involve more detailed molds and careful handling. Start by tempering your chocolate. This ensures it sets with a glossy finish and a good snap. Use detailed molds with intricate designs. Pour the tempered chocolate into the molds and tap to release bubbles. For multi-colored shapes, you can paint the mold with different chocolate colors before filling. Use a small brush for this step. Allow each color to set before adding the next. Once filled, place the mold in the fridge to set. Carefully remove the chocolates and admire your detailed creations.
Creating Chocolate Shavings
Chocolate shavings add a touch of elegance to any dessert. They are simple to make at home and can elevate your sweet treats. You can use them for garnishing cakes, cupcakes, or even hot drinks. Let’s explore two easy methods to create beautiful chocolate shavings.
Using A Knife
Start with a block of chocolate. Ensure it is at room temperature. Place the chocolate on a clean cutting board. Hold a sharp knife at a slight angle. Draw the knife towards you, shaving off thin curls of chocolate. Keep your strokes steady and even. Collect the shavings with a spatula and use them immediately or store them in a cool place.
Using A Grater
Another simple way to make chocolate shavings is with a grater. Choose a chocolate bar and a fine grater. Hold the chocolate at a slight angle. Gently rub the chocolate against the grater. Use smooth and even strokes. Rotate the chocolate for even shavings. Gather the shavings with a spatula. Use them right away or store them in a cool place.
Making Chocolate Curls
Chocolate curls add a touch of elegance to any dessert. They are easy to make at home and can be a fun activity. You can use a vegetable peeler or a curling tool to create beautiful chocolate curls.
Using A Vegetable Peeler
A vegetable peeler is a common tool in most kitchens. It is perfect for making chocolate curls. Follow these steps to create chocolate curls with a vegetable peeler:
- Choose a block of chocolate. Dark or milk chocolate works best.
- Warm the chocolate slightly. You can leave it at room temperature for a while.
- Hold the chocolate block firmly. Use the peeler to scrape along the edge.
- Apply even pressure. This will create long, thin curls.
- Collect the curls on a plate. Place them in the refrigerator to set.
Now you have chocolate curls ready to decorate your desserts!
Using A Curling Tool
A chocolate curling tool can be bought online or in specialty stores. It is designed for creating perfect curls. Here is how you can use it:
- Pick a high-quality chocolate bar. It should be smooth and firm.
- Heat the chocolate lightly. Ensure it is not too soft.
- Hold the curling tool at a slight angle. Push it across the chocolate surface.
- Move slowly and steadily. This will form uniform curls.
- Place the curls on a baking sheet. Chill them until they are firm.
Using a curling tool can give you more precise curls for your decorations.
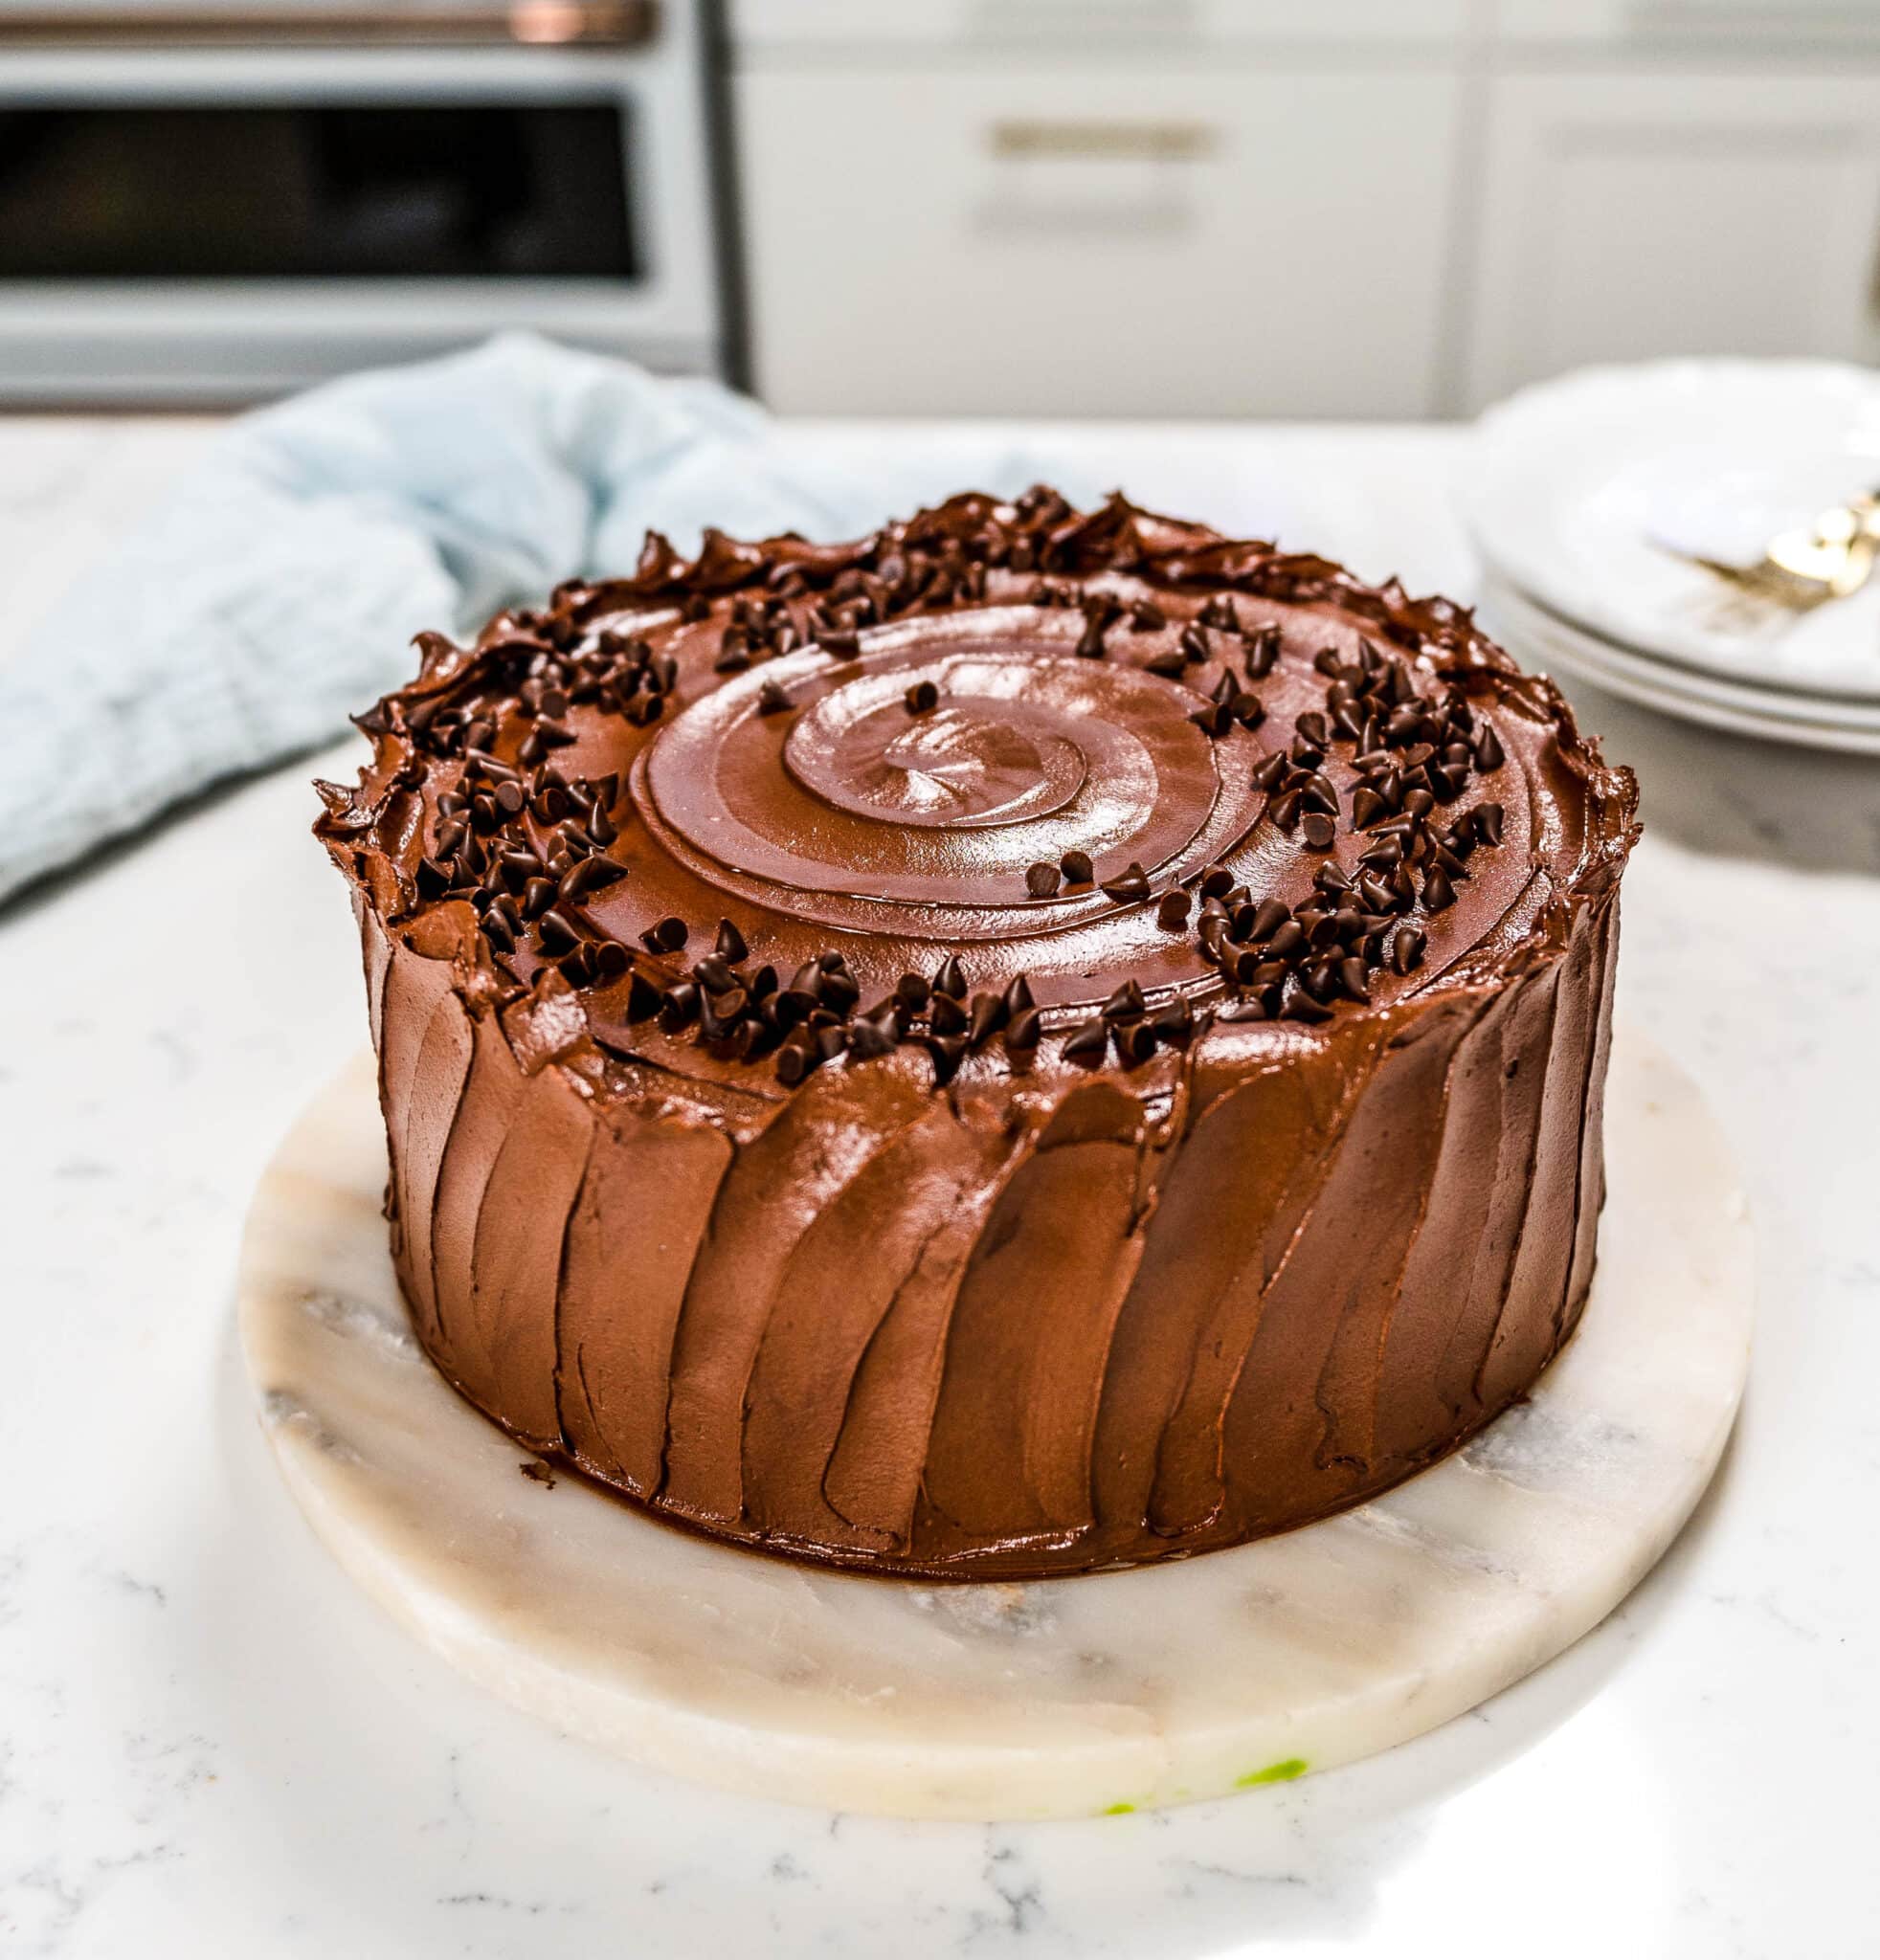
Credit: sugargeekshow.com
Drizzling And Piping Designs
Drizzling and piping chocolate designs can elevate your homemade desserts. These techniques are simple yet add a professional touch. You don’t need to be a pastry chef to create stunning chocolate art. Let’s explore how to drizzle and pipe chocolate decorations at home.
Drizzling Techniques
Drizzling chocolate is an easy way to decorate. Melt your chocolate to a smooth consistency. Use a spoon or fork to drizzle it over your treats. Move your hand back and forth quickly for thin lines. For thicker lines, slow down your hand. You can drizzle in different directions for a more intricate pattern.
Piping Bags And Tips
Piping bags help you create detailed chocolate designs. Use a small round tip for fine lines. A star tip can add texture. Fill your piping bag with melted chocolate. Squeeze gently and control the flow. Practice on parchment paper before decorating your desserts. You can create swirls, letters, and other shapes.
Adding Colors And Flavors
Chocolate decorations can be more exciting with a splash of color and a hint of flavor. This section will guide you through adding colors and flavors to your homemade chocolate decorations. Whether you prefer vibrant hues or subtle tastes, these tips will help you create stunning and delicious chocolate pieces.
Food Coloring
Adding food coloring to your chocolate can make your decorations pop. Here are some tips:
- Use oil-based food coloring. Water-based colors can cause chocolate to seize.
- Melt the chocolate first, then add a few drops of color.
- Mix well to ensure an even color distribution.
- Use a toothpick for precise color application.
- Start with a small amount of color and add more if needed.
For a more natural option, try these natural food colorings:
| Color | Natural Source |
|---|---|
| Red | Beetroot powder |
| Green | Matcha powder |
| Yellow | Turmeric powder |
| Blue | Spirulina powder |
Infusing Flavors
Enhancing your chocolate with different flavors can take it to the next level. Here are some ways to infuse flavors:
- Add a few drops of flavor extracts like vanilla, almond, or peppermint.
- Mix in finely ground spices such as cinnamon, nutmeg, or cardamom.
- Incorporate citrus zest for a fresh, zesty flavor.
- Use flavored oils, like orange or lemon oil, for a more intense taste.
- Infuse cream with herbs like mint or lavender before adding it to the chocolate.
Combining colors and flavors can create unique and delightful chocolate decorations. Experiment with different combinations to find your favorite.
Storing And Handling Chocolate Decorations
Creating chocolate decorations at home can be a fun and rewarding experience. To maintain their beauty and taste, proper storage and careful handling are crucial. Let’s dive into the best practices for storing and handling your chocolate decorations.
Proper Storage
Proper storage ensures your chocolate decorations stay fresh and maintain their quality. Follow these guidelines:
- Temperature: Store chocolates in a cool, dry place. The ideal temperature is between 60-70°F (15-21°C).
- Humidity: Keep the humidity level below 50%. High humidity can cause the chocolate to bloom, which affects its appearance.
- Avoid Sunlight: Direct sunlight can melt your chocolate decorations. Store them in a dark place.
- Airtight Containers: Use airtight containers to protect chocolates from air and moisture.
- Refrigeration: Refrigerate only if necessary. Place chocolates in an airtight container to prevent moisture absorption.
Handling Tips
Handle your chocolate decorations with care to avoid damage. Here are some tips:
- Clean Hands: Always wash and dry your hands before touching chocolates. This prevents transferring oils and dirt.
- Use Gloves: Consider wearing food-safe gloves to avoid fingerprints and smudges.
- Avoid Excessive Touching: Handle chocolates minimally to prevent them from melting due to body heat.
- Transport Carefully: When transporting, use insulated containers to maintain a stable temperature.
- Separate Layers: If stacking decorations, separate layers with parchment paper to prevent sticking.
By following these storage and handling tips, your homemade chocolate decorations will look stunning and taste delicious.
Incorporating Decorations Into Desserts
Incorporating chocolate decorations into desserts can transform simple treats into stunning masterpieces. Chocolate decorations add elegance and a touch of sophistication. They are versatile and can be used for various desserts, from cakes to pastries. Below, we explore some creative ways to incorporate these chocolate decorations into your desserts.
Cake Toppers
Creating chocolate cake toppers is a simple way to add flair to your cakes. These toppers can range from intricate designs to simple shapes. Here’s a basic guide to get you started:
- Melt high-quality chocolate in a double boiler.
- Pour the melted chocolate into a piping bag.
- Pipe your desired shapes onto a sheet of parchment paper.
- Let the chocolate shapes harden in the refrigerator.
- Gently peel off the shapes and place them on your cake.
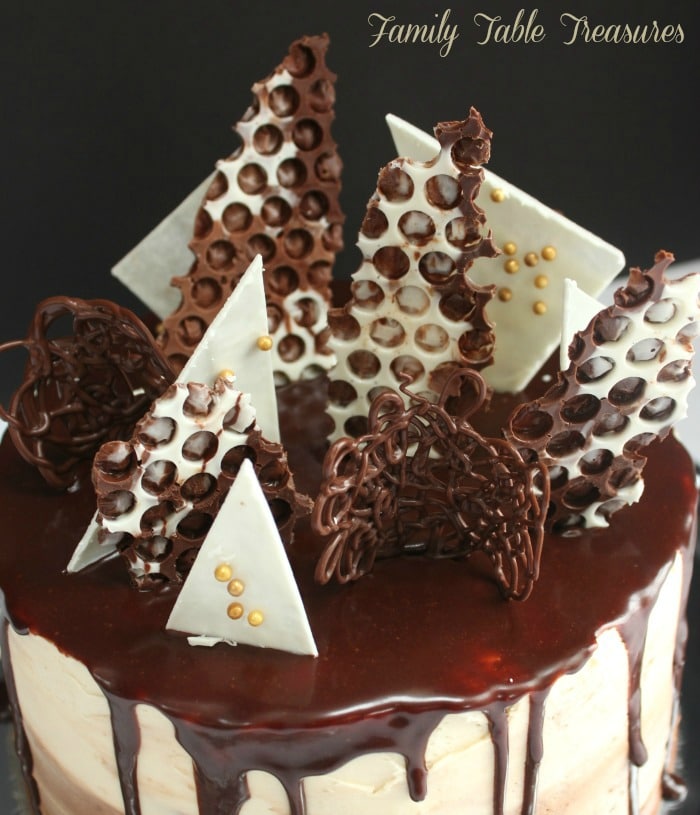
Common shapes for cake toppers include stars, hearts, and letters. You can also create custom designs based on the occasion. For example, snowflakes for a winter-themed cake or flowers for a spring celebration.
Garnishing Pastries
Chocolate decorations are perfect for garnishing pastries. They add a professional touch to your homemade delights. Here are some simple ideas:
| Pastry Type | Decoration Idea |
|---|---|
| Croissants | Drizzle with melted chocolate and add chocolate shavings. |
| Eclairs | Top with a chocolate glaze and add chocolate curls. |
| Fruit Tarts | Decorate with chocolate leaves or mini chocolate shapes. |
To make chocolate curls, use a vegetable peeler on a block of chocolate. For chocolate shavings, use a grater. These simple techniques can elevate the appearance of your pastries effortlessly.
Incorporate these tips into your baking routine to create visually stunning and delicious desserts. Your guests will be impressed with your attention to detail and creativity.

Credit: www.youtube.com
Troubleshooting Common Issues
Creating chocolate decorations at home is a fun and rewarding activity. Yet, common issues can arise, making the process frustrating. Understanding how to troubleshoot these problems ensures your decorations turn out perfect every time.
Preventing Chocolate Bloom
Chocolate bloom looks like white streaks or spots on the surface. It occurs when chocolate is not tempered correctly. To prevent this, ensure your chocolate melts and cools to the right temperatures. Use a thermometer to check the temperature. Avoid letting moisture get into the chocolate. Even a small drop of water can cause bloom.
Fixing Broken Decorations
Broken decorations can ruin your hard work. Handle the chocolate pieces carefully to avoid breakage. If a piece breaks, use melted chocolate as glue. Apply a small amount to the broken edges and press them together. Let the piece sit until the chocolate sets. This will help fix the break seamlessly.
Conclusion
Creating chocolate decorations at home is fun and easy. With basic tools and simple techniques, you can make beautiful designs. Practice helps improve your skills. Chocolate decorations add a personal touch to any dessert. They impress guests and make treats special.
Enjoy experimenting with different shapes and styles. Have fun in the kitchen and let your creativity flow. Happy decorating!
