How to Make a Wooden Crate for Home Decor: Step-by-Step Guide
Making a wooden crate for home decor is simple and fun. It adds a rustic touch to any room.
This guide will teach you how to create your own stylish wooden crate. Wooden crates are both functional and decorative. They can be used to store books, plants, or even as a unique coffee table. With a few basic tools and some wooden planks, you can craft a piece that suits your home perfectly.
This project is perfect for beginners and experienced DIY enthusiasts alike. By following these steps, you will have a custom wooden crate that adds charm and character to your home decor. Let’s get started on this creative and rewarding project!
Materials Needed
Creating a wooden crate for home decor can be a fun project. To start, you need to gather the necessary materials. This step is crucial for a smooth building process. Let’s dive into the essentials.
Wood Selection
Choosing the right wood is important. Pine is a popular choice due to its softness. It’s easy to cut and shape. Oak is another option for a sturdier crate. It has a beautiful grain but is harder to work with. Cedar offers a rustic look and is naturally resistant to insects. Make sure the wood is free from cracks and warps.
Tools Required
Having the right tools makes the job easier. A saw is essential for cutting the wood to size. A tape measure ensures precise measurements. Sandpaper helps smooth the wood surfaces. A drill with screws is needed to assemble the crate. Clamps will hold the pieces in place while you work. A paintbrush and wood stain can add a finishing touch to your crate.
Preparing The Wood
Before you start assembling your wooden crate, it’s crucial to prepare the wood properly. This ensures that the crate is sturdy and looks great in your home decor. Follow these steps to measure, cut, and sand your wood pieces.
Measuring And Cutting
First, measure the wood pieces accurately. Use a tape measure and pencil to mark your measurements. You will need:
- Two long side pieces
- Two short end pieces
- One bottom piece
Once marked, use a saw to cut the wood. Ensure your cuts are straight and precise. This is important for a snug fit when assembling the crate.
Sanding The Pieces
After cutting, sand the wood pieces. Use medium-grit sandpaper for the initial sanding. This will remove any rough edges and splinters. Then, use fine-grit sandpaper for a smooth finish.
Sanding not only makes the wood look better, but it also helps the stain or paint adhere better. Take your time with this step to ensure a professional-looking crate.
Assembling The Base
Assembling the base of your wooden crate is a crucial step. This foundation will determine the strength and durability of your crate. Let’s dive into the process of putting it all together.
Laying Out The Pieces
First, gather all the wooden pieces for the base. Arrange them on a flat surface. Ensure the pieces align properly. This will help in making a sturdy base.
Start with the longer pieces. Place them parallel to each other. Then, position the shorter pieces perpendicular. This creates a rectangular frame. Make sure everything fits snugly. No gaps should be visible.
Securing The Joints
Next, secure the joints where the wood pieces meet. Use wood glue for a strong bond. Apply a thin layer of glue along the edges. Press the pieces together firmly.
After gluing, use nails or screws for extra strength. Drive them in at the joints. This ensures the base stays intact. It’s important to check the alignment again. The base should be square and level.
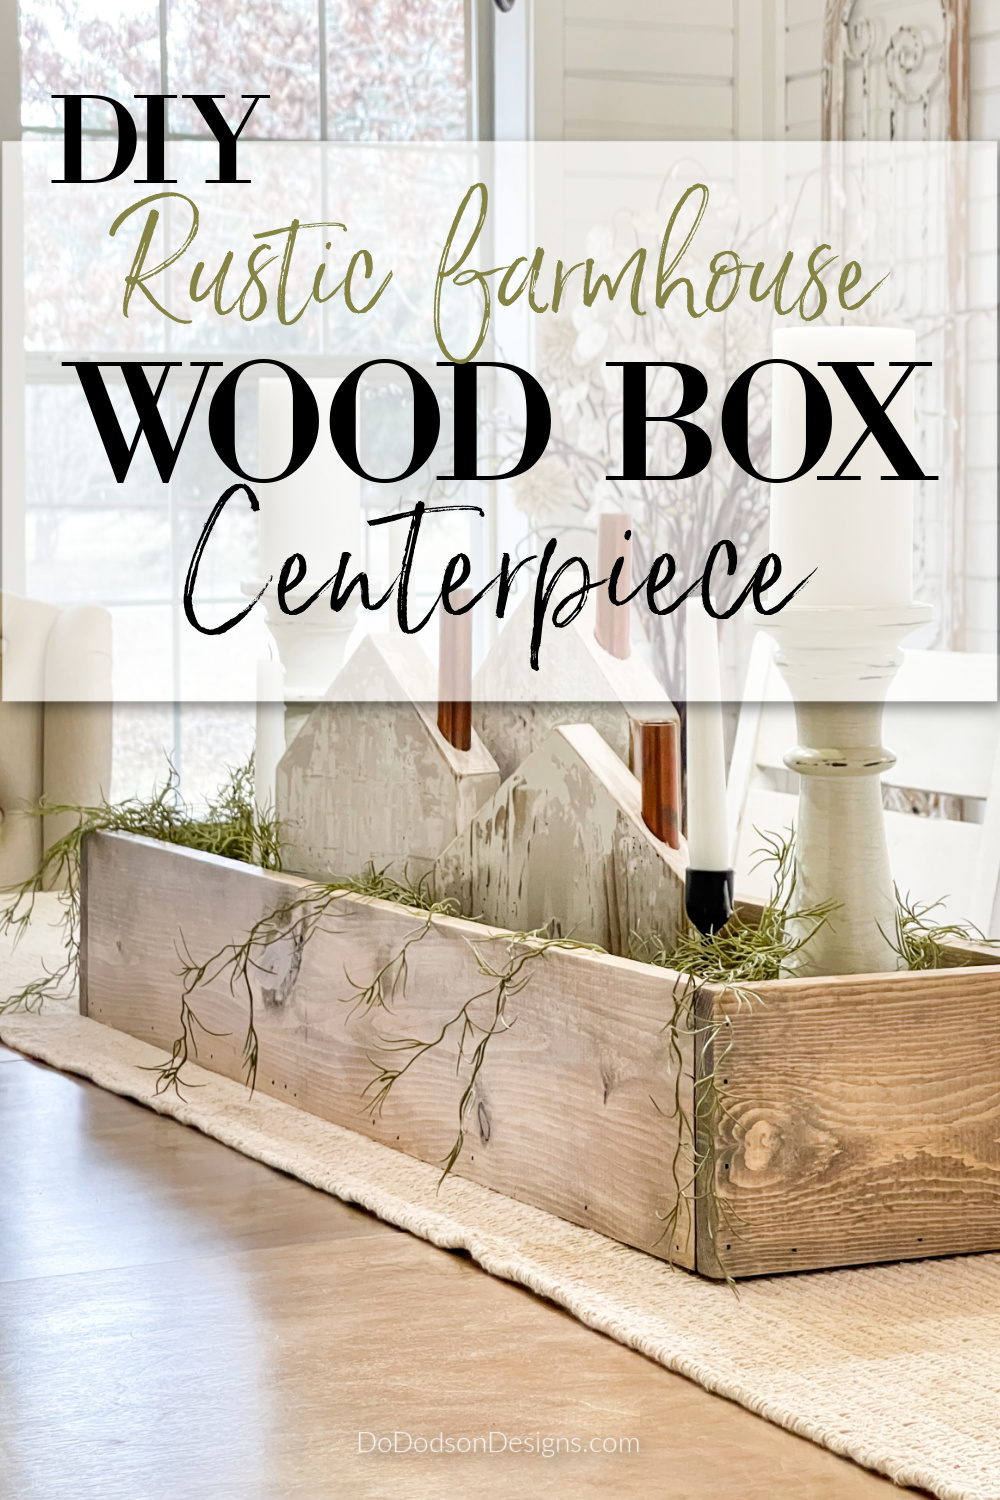
Allow the glue to dry completely. This might take a few hours. Once dry, your base is ready. Now, you can move on to the next steps of your crate building project.

Credit: www.dododsondesigns.com
Building The Sides
Building the sides of a wooden crate is a crucial step. It ensures the crate is both strong and visually appealing. This section will guide you through the process step by step.
Attaching Side Panels
First, gather your materials. You will need four wooden panels, nails, and a hammer.
- Place two panels parallel to each other on a flat surface.
- Position another panel perpendicular to the first two.
- Use nails to attach the panels securely.
- Repeat with the fourth panel to complete the box shape.
Ensure the edges align perfectly. This prevents gaps and adds strength.
Reinforcing The Structure
Reinforcement is key for durability. Follow these steps to make your crate sturdy:
- Use corner brackets at each joint.
- Secure the brackets with screws for added strength.
- Add wood glue along each seam before nailing the panels together.
These simple steps ensure your crate can hold heavier items without breaking.
Creating The Handles
Handles are essential for any wooden crate. They make it easy to move around. This section will guide you through the process of creating strong and stylish handles for your crate.
Measuring Handle Openings
First, you need to measure the openings for the handles. Use a measuring tape or ruler. Make sure the openings are equally spaced on both sides of the crate. This will ensure balance.
Typically, handle openings should be about 4-5 inches wide. The height can be around 1.5-2 inches. Mark these measurements with a pencil.
| Handle Dimension | Measurement (in inches) |
|---|---|
| Width | 4-5 |
| Height | 1.5-2 |
Cutting And Sanding Handles
Once you’ve marked the measurements, it’s time to cut the openings. Use a jigsaw or a hand saw to cut along the pencil lines. Make sure to cut slowly and precisely.
After cutting, the edges will be rough. Sand them down with sandpaper. Start with coarse-grit sandpaper to remove large splinters. Then, use fine-grit sandpaper to smooth the edges.
Ensure the handles are smooth to the touch. This will prevent any splinters when carrying the crate. Your handles are now ready and functional!
Finishing Touches
After assembling your wooden crate, the finishing touches give it character. These steps not only enhance the crate’s look but also protect the wood. Let’s focus on two crucial aspects: staining or painting and applying sealant.
Staining Or Painting
Decide whether to stain or paint your crate. Both options have their benefits:
- Staining: Stain brings out the natural wood grain. It provides a rustic look. It is perfect for a vintage decor style.
- Painting: Paint offers a variety of colors. It helps match the crate with your home’s color scheme. It can also provide a more modern look.
Before applying stain or paint, sand the wood. This ensures a smooth finish. Use a fine-grit sandpaper for the best results. Wipe off any dust with a damp cloth.
When applying stain, use a brush or cloth. Apply in the direction of the wood grain. Allow the stain to dry completely. For painting, use a primer first. Then apply your chosen paint color. Two coats are often needed for an even finish.
Applying Sealant
Applying a sealant protects the wood from damage. It also enhances the finish:
- Choose the right sealant: There are several types, including varnish, lacquer, and polyurethane. Each offers different levels of protection and shine.
- Apply the sealant: Use a clean brush. Apply in thin, even coats. Allow each coat to dry before applying the next.
- Sand between coats: Lightly sand the surface with fine-grit sandpaper. This ensures a smooth, professional finish.
Remember, the sealant not only protects the wood but also gives it a polished look. It makes your crate durable and long-lasting.
By paying attention to these finishing touches, your wooden crate will look stunning. It will be a perfect addition to your home decor.
Decorating Tips
Decorating wooden crates for home decor can elevate their charm. Simple DIY techniques make your wooden crates unique and stylish. Here are some easy decorating tips to get you started.
Adding Stencils
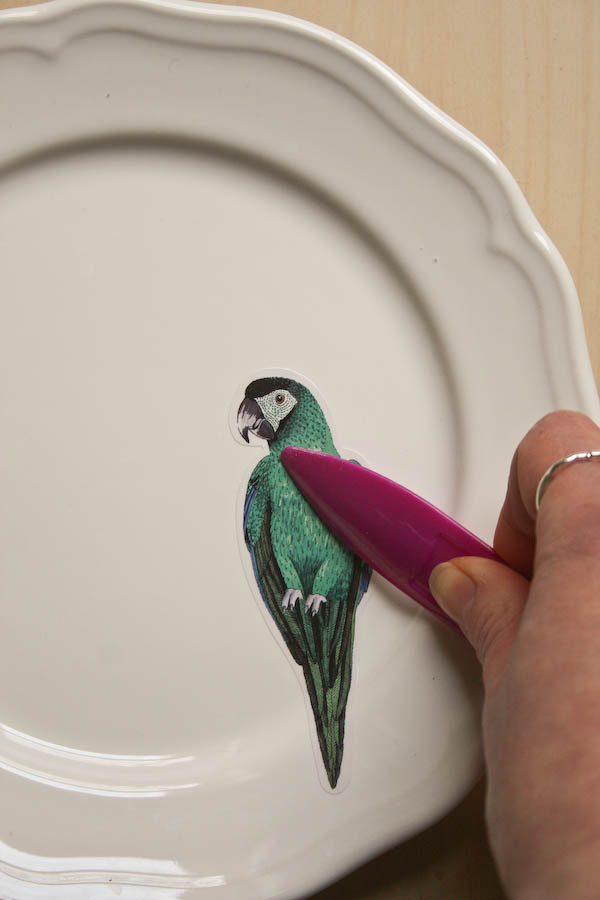
Stencils add a personal touch to wooden crates. Choose a design that matches your home decor. Secure the stencil on the crate with tape. Use a brush or sponge to apply paint over the stencil. Remove the stencil carefully while the paint is still wet. Let the paint dry completely. This technique gives a professional finish without much effort.
Incorporating Fabric
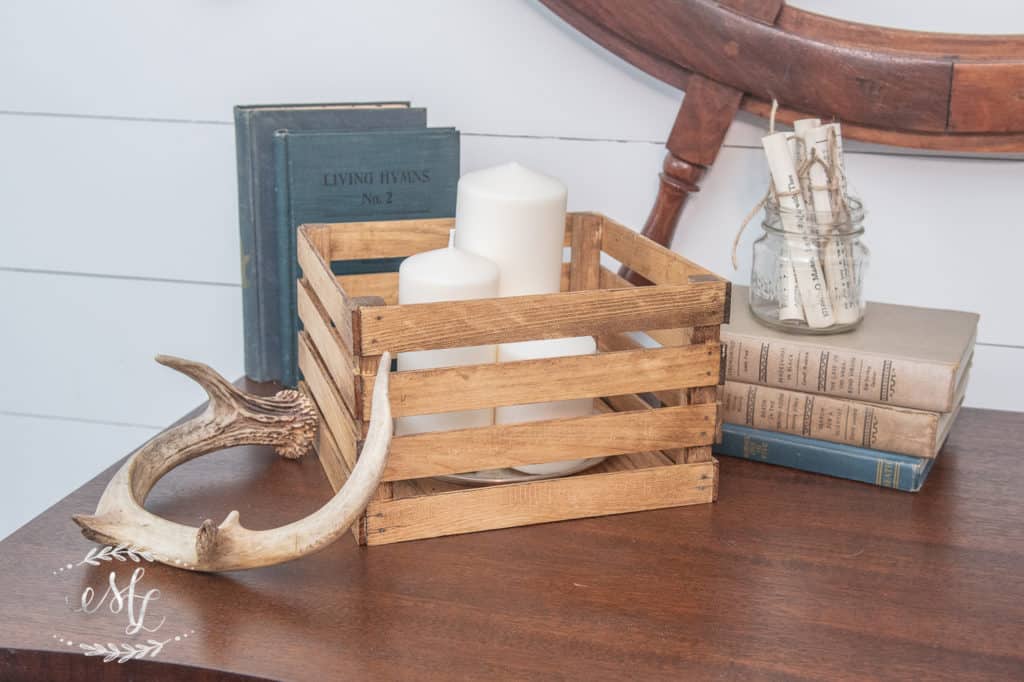
Fabric adds texture and color to wooden crates. Measure the sides and bottom of the crate. Cut fabric pieces to fit each side. Use a strong adhesive to attach the fabric to the crate. Smooth out any wrinkles. For a more polished look, add fabric trim or ribbon. This method adds softness and warmth to your wooden crate decor.

Credit: homemadelovely.com
Maintenance And Care
Wooden crates add rustic charm to any home decor. But to keep them looking their best, proper maintenance and care are essential. This section will guide you through some effective tips for cleaning and restoring the finish of your wooden crates.
Cleaning Tips
Regular cleaning is crucial to maintain the beauty of your wooden crate. Here are some tips:
- Dust regularly: Use a soft cloth to remove dust.
- Use mild soap: Mix mild soap with water for a gentle clean.
- Dry immediately: Wipe with a dry cloth to prevent water damage.
For stubborn stains, consider using a soft brush. Avoid harsh chemicals. They can damage the wood.
Restoring Finish
Over time, your wooden crate may lose its finish. Restoring the finish can bring back its original charm. Follow these steps:
- Sand the surface: Use fine-grit sandpaper to smooth the surface.
- Apply wood conditioner: This helps the wood absorb the stain evenly.
- Stain the wood: Choose a stain that matches your decor.
- Seal the finish: Use a clear sealant to protect the wood.
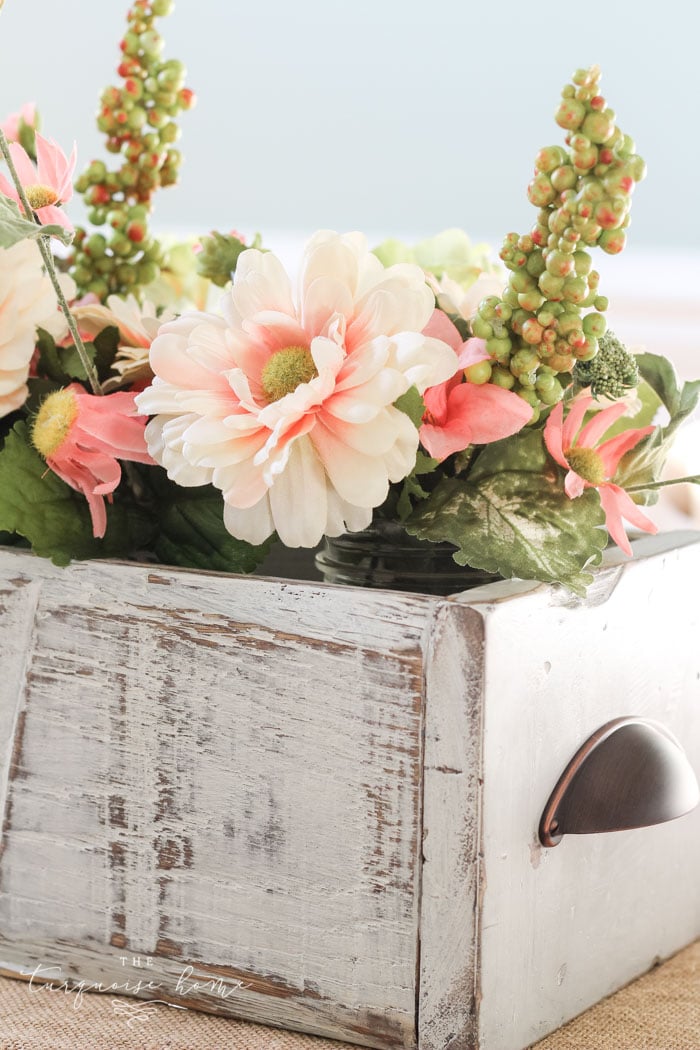
Regular maintenance keeps your wooden crate looking new. Enjoy the rustic elegance it brings to your home!

Credit: theturquoisehome.com
Frequently Asked Questions
What Materials Do I Need For A Wooden Crate?
You’ll need wooden planks, screws, nails, wood glue, and sandpaper. Additionally, use a saw, hammer, and screwdriver for assembly.
How Do I Choose The Right Wood?
Select hardwood like oak or pine for durability. Ensure the wood is smooth and free from knots or defects.
Can I Customize The Crate Size?
Yes, you can customize the size. Measure your space and cut wood accordingly to fit your specific needs.
How To Finish A Wooden Crate?
Sand the crate thoroughly. Apply a wood stain or paint for color. Seal with a clear varnish to protect.
Conclusion
Creating a wooden crate for home decor is a rewarding project. It adds a personal touch to your space. Plus, it’s cost-effective and fun. Follow the steps carefully. Use the right tools and materials. Customize your crate to match your decor.
Enjoy the process and the result. Your handmade crate will bring charm and uniqueness to your home. Happy crafting!


