Diy How to Make Vase for Decoration at Home: Easy & Creative Ideas
Creating a vase for home decoration is fun and rewarding. You can transform simple materials into stunning pieces.
In this guide, we’ll explore how to make beautiful vases at home. DIY projects are a great way to add a personal touch to your space. Plus, they can be cost-effective and unique. Whether you’re a crafting newbie or a seasoned pro, making your own vase is a delightful challenge.
You’ll need some basic materials, a bit of creativity, and a dash of patience. Ready to get started? Let’s dive into the world of DIY vase making and discover how you can create stunning decorations for your home.
Materials Needed
Creating a beautiful vase at home is a fun and rewarding project. You will need some basic supplies to get started. You can also add optional enhancements to make your vase unique. Below is a list of materials to help you on your DIY journey.
Basic Supplies
- Glass jar or bottle: Choose one with a shape you like.
- Acrylic paints: Pick colors that match your decor.
- Paint brushes: Use different sizes for detailing.
- Primer: Helps paint stick to the glass.
- Painter’s tape: For creating clean lines.
- Newspaper or drop cloth: Protects your workspace.
- Water and cloth: For cleaning the jar and brushes.
Optional Enhancements
- Glitter: Adds sparkle to your vase.
- Stickers or decals: For an easy decorative touch.
- Ribbon or twine: Wrap around the neck for texture.
- Mod Podge: Seals and adds a glossy finish.
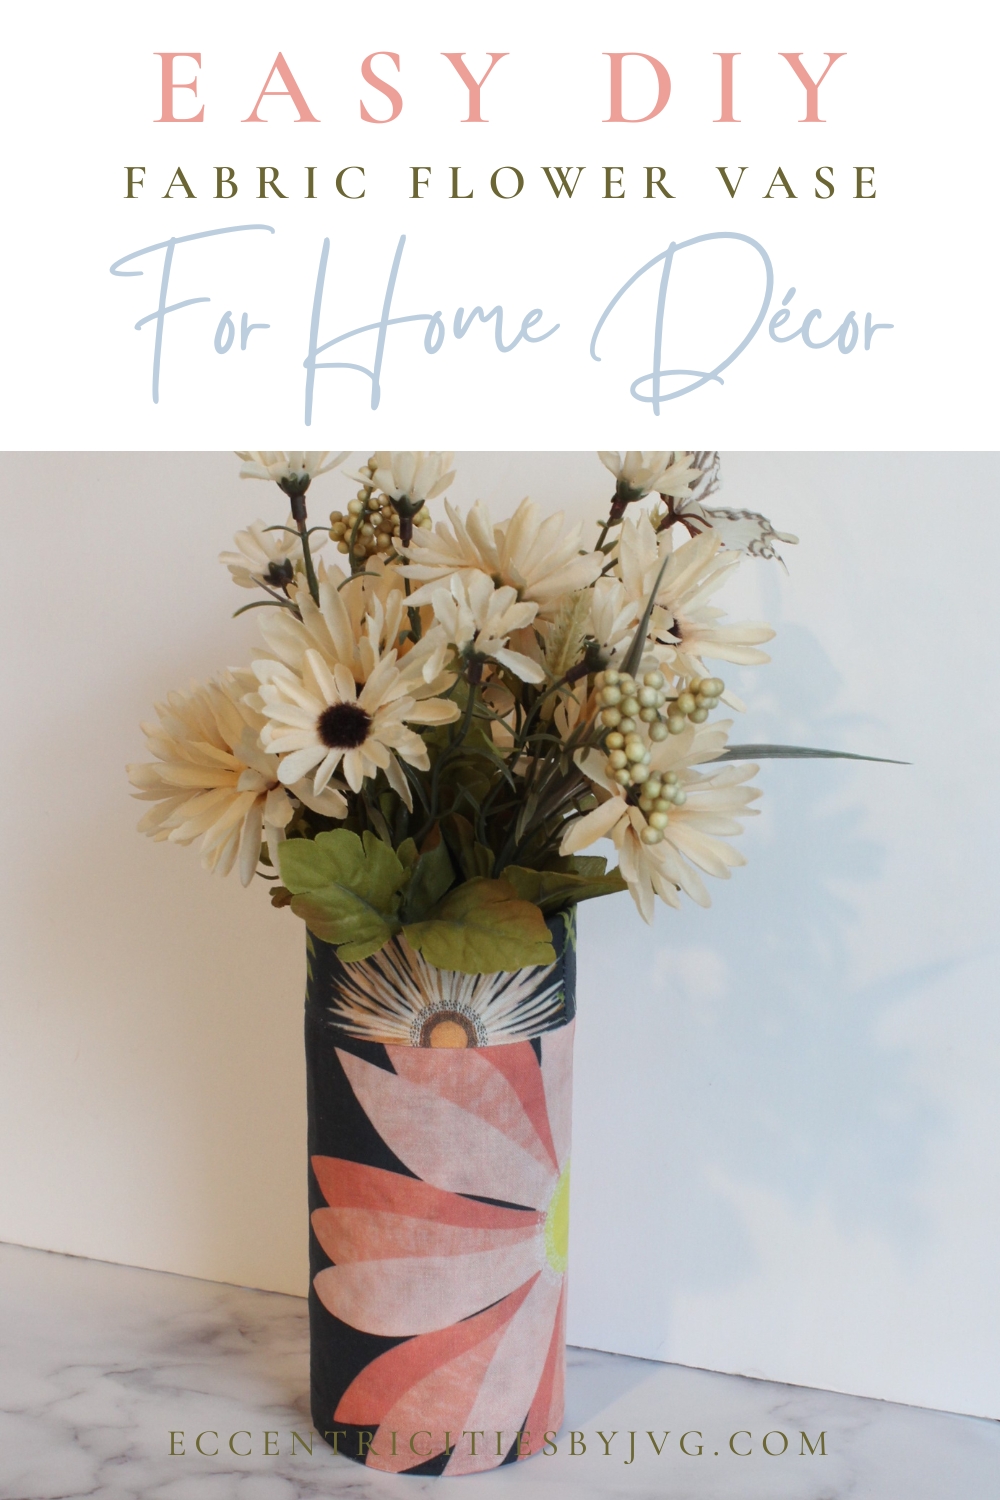
- Artificial flowers: Fill your vase for an instant display.
- Beads or jewels: Glue on for extra bling.

Credit: eccentricitiesbyjvg.com
Choosing The Right Container
Creating a unique vase for home decoration starts with choosing the right container. The container sets the tone for your design. It also affects the overall look of your space. You can use various materials. Each has its own charm and style. Here, we explore three popular options: glass jars, ceramic vases, and plastic bottles.
Glass Jars
Glass jars are versatile and easy to find. They come in different shapes and sizes. You can use mason jars, old pickle jars, or any clear glass container. Glass jars offer a simple yet elegant look. They are perfect for showcasing colorful flowers or decorative stones. You can also paint them or wrap them with twine for a rustic touch.
Ceramic Vases
Ceramic vases add a touch of sophistication to any room. They are available in a wide range of designs. From classic to modern, you can find a ceramic vase that fits your style. Ceramic vases are also durable and can hold heavy flower arrangements. You can personalize them by painting or adding decorative elements. This makes them a great choice for DIY projects.
Plastic Bottles
Plastic bottles are a budget-friendly option. They are lightweight and easy to work with. You can upcycle old soda bottles or detergent bottles. Cut them to your desired height and decorate them with paint, ribbons, or fabric. Plastic bottles are also safe for homes with kids or pets. They are an eco-friendly choice, reducing waste by reusing what you already have.
Preparation Steps
Creating a beautiful vase for your home can be a fun and rewarding project. Before diving into the actual crafting, it’s crucial to properly prepare your materials. This preparation ensures your vase looks great and lasts long. Let’s dive into the preparation steps.
Cleaning And Drying
Start by thoroughly cleaning your chosen vase material. This could be a glass jar, ceramic pot, or even a plastic bottle. Use warm, soapy water to remove any dirt or grease. Rinse well to ensure no soap residue remains.
Once cleaned, dry the vase completely. Use a clean, dry cloth to wipe it down. Ensure every nook and cranny is dry. Any moisture left can affect the next steps. Air drying is also an option, but it might take longer.
Priming The Surface
Next, prime the surface of your vase. This step is essential for good paint adhesion. Choose a primer suitable for the material of your vase. For glass or ceramics, a spray primer works best.
Apply the primer in a well-ventilated area. Hold the spray can about six inches away from the vase. Spray evenly, covering all areas. Allow the primer to dry completely before moving on to the next step.
For plastic vases, use a plastic-specific primer. This ensures the paint sticks well. Follow the same steps: spray evenly and let it dry thoroughly.
These preparation steps set the foundation for a beautiful, lasting vase. Proper cleaning and priming make a significant difference. Now, you’re ready to move on to the fun part – decorating your vase!

Credit: www.pinterest.com
Painting Techniques
Decorating a vase can add a personal touch to your home decor. Painting is one of the easiest and most creative ways to do this. In this section, we will explore two popular painting techniques: Spray Painting and Hand Painting. Each technique offers unique benefits and can transform a plain vase into a beautiful piece of art.
Spray Painting
Spray painting is a quick and easy method to give your vase a smooth, even finish. It works best on vases with simple shapes and surfaces.
| Step | Instructions |
|---|---|
| 1 | Clean the vase with soap and water. Let it dry completely. |
| 2 | Place the vase on a protected surface. Use newspaper or plastic. |
| 3 | Shake the spray paint can for a couple of minutes. |
| 4 | Hold the can about 12 inches away. Spray in even strokes. |
| 5 | Allow the paint to dry. Apply a second coat if needed. |
Tip: Use a primer before spray painting. It helps the paint adhere better and last longer.
Hand Painting
Hand painting allows for more detailed and intricate designs. It’s ideal for those who enjoy painting and have a steady hand.
- Clean the vase with soap and water. Let it dry completely.
- Choose your paint. Acrylic paints work well for this method.
- Use a small brush for detailed designs. A larger brush can be used for base colors.
- Sketch your design lightly with a pencil if needed.
- Apply the paint in thin layers. Let each layer dry before adding another.
Tip: Seal your design with a clear varnish. This protects the paint and gives a glossy finish.
Both painting techniques can turn a simple vase into a stunning decorative piece. Choose the method that best fits your style and enjoy the creative process.
Adding Decorative Elements
Adding decorative elements can transform a simple vase into a stunning piece. These small touches add personality and charm. You can use various materials to decorate your vase. Here are some ideas to get you started.
Using Ribbons And Twine
Ribbons and twine are versatile and easy to use. Wrap them around the neck of your vase. Secure with a small knot or bow. Choose colors that match your room decor. Thin or thick ribbons both work well. You can also twist different colors together. Twine gives a rustic, natural look. Experiment with different wrapping styles.
Attaching Beads And Gems
Beads and gems add sparkle and elegance. Use a hot glue gun to attach them. Create patterns or random designs. Choose beads and gems of various sizes. This adds depth and interest. You can cover the entire vase or just a part of it. Make sure the glue is dry before handling the vase. This ensures the beads and gems stay in place.

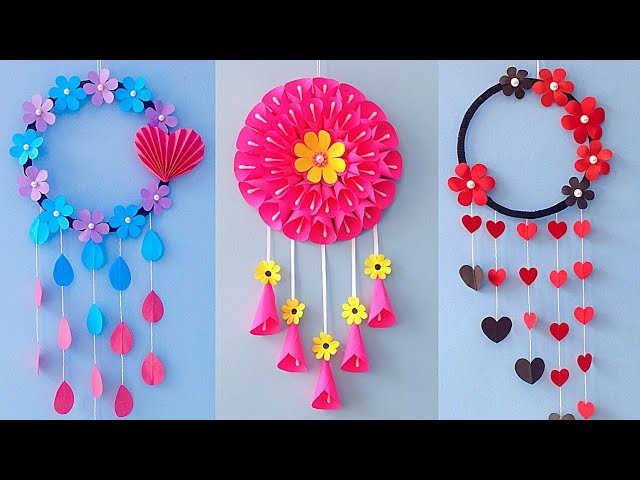
Credit: www.youtube.com
Creative Vase Ideas
Are you searching for creative vase ideas to enhance your home decor? Making your own vase can be a fun and rewarding project. With a few materials and some creativity, you can create a beautiful piece that adds a personal touch to any room.
Rustic Styles
Rustic styles are perfect for those who love natural and earthy looks. Use mason jars, old bottles, or tin cans to create a charming rustic vase. Wrap the jar with twine or burlap for added texture. Fill it with dried flowers, branches, or even fresh blooms. The simplicity of rustic designs brings a warm, cozy feel to your space.
Modern Designs
Modern designs focus on clean lines and minimalism. Use geometric shapes and monochromatic colors. Try painting a glass bottle with a single, bold color. You can also use metallic spray paint for a sleek look. Another idea is to use concrete or clay to mold a unique shape. These modern vases add a sophisticated touch to any room.
Arranging Flowers
Arranging flowers in a DIY vase can elevate your home decor. The right flowers and arrangement can transform a simple vase into a stunning centerpiece. Let’s dive into the key elements of arranging flowers for your DIY vase.
Choosing Flower Types
Start by selecting the right flower types for your vase. Consider the following factors:
- Color scheme: Choose flowers that match your home decor.
- Season: Opt for seasonal flowers for freshness and availability.
- Size: Ensure the flowers fit well in your vase without overcrowding.
Some popular choices include:
| Flower Type | Best Season | Color Options |
|---|---|---|
| Roses | Spring, Summer | Red, Pink, White |
| Tulips | Spring | Yellow, Purple, Red |
| Sunflowers | Summer | Yellow, Orange |
| Chrysanthemums | Fall | White, Yellow, Red |
Creating Floral Arrangements
Now that you’ve chosen your flowers, it’s time to create your floral arrangement. Follow these simple steps:
- Prepare the vase: Fill your vase with water and add flower food.
- Trim the stems: Cut the stems at an angle for better water absorption.
- Remove excess leaves: Strip leaves below the waterline to prevent rot.
- Start with greenery: Place greenery as a base to give structure.
- Add focal flowers: Insert larger flowers in the center to draw attention.
- Fill with filler flowers: Use smaller flowers to fill gaps and add volume.
- Adjust and balance: Step back and adjust to create a balanced look.
Remember to change the water every few days. Fresh water keeps your flowers vibrant.
Finishing Touches
Once you’ve crafted your vase, it’s time for the finishing touches. This step will make your DIY vase look professional and polished. These last details will truly make your creation stand out.
Sealing The Vase
Sealing your vase is essential to protect it. Use a clear sealant spray. Hold the spray about 6 inches away from the vase. Apply a light, even coat. Let it dry completely. Repeat this process two more times. This will ensure durability and a glossy finish. If your vase is painted, sealing will keep the colors vibrant.
Displaying Your Creation
Now that your vase is sealed, it’s ready to display. Choose a spot with good lighting. A windowsill or a well-lit shelf works great. Place fresh or artificial flowers inside. You can also use dried flowers for a rustic look. Group your vase with other decor pieces. This will create a beautiful focal point. Every glance at your vase will remind you of your creativity.
Conclusion
Creating your own vase at home is simple and fun. It adds a personal touch to your decor. Plus, it can be a great conversation starter. You only need a few materials and some creativity. Experiment with different designs and colors.
Display your handmade vase proudly. Enjoy the satisfaction of making something unique. Happy crafting!
