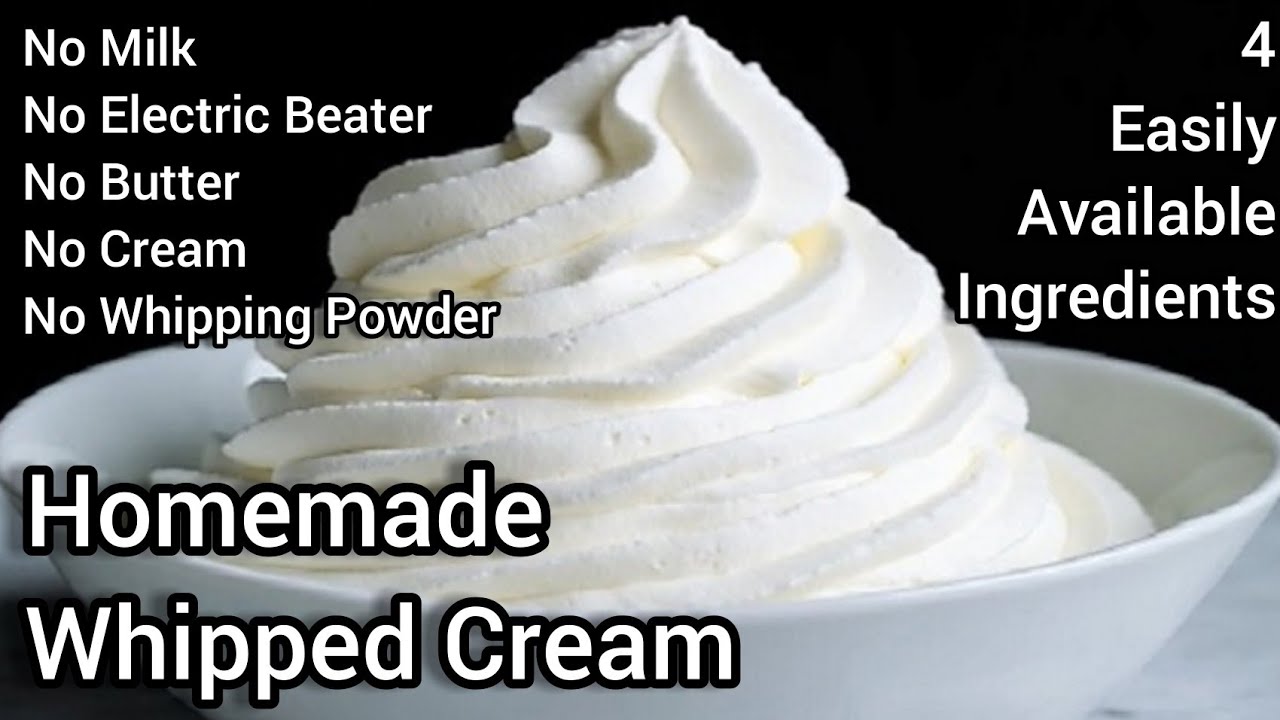
How to Make Whipped Cream for Cake Decoration at Home: Easy Guide
Making whipped cream at home for cake decoration is simple and fun. You only need a few ingredients and some basic tools.
Whipped cream adds a touch of elegance to any cake. It’s light, fluffy, and delicious. Plus, making it at home means you control the taste and texture. Whether you’re a baking pro or just starting, homemade whipped cream is a skill worth mastering.
In this guide, we’ll show you how to create perfect whipped cream in your kitchen. With our easy steps, you’ll be decorating cakes like a professional in no time. Let’s get started on this delightful journey to make your cakes look and taste amazing!
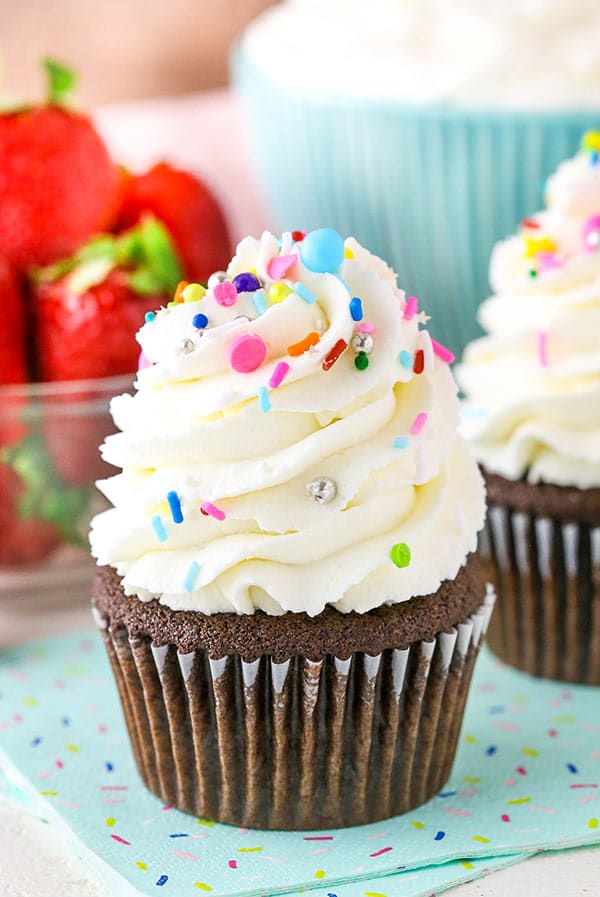
Credit: www.lifeloveandsugar.com
Introduction To Whipped Cream
Whipped cream is a versatile ingredient. It’s a staple in cake decoration. Making whipped cream at home is simple and rewarding. You control the ingredients and achieve the perfect consistency. In this section, we will explore whipped cream and its uses in cake decoration.
What Is Whipped Cream?
Whipped cream is heavy cream beaten until it becomes light and fluffy. It often doubles in volume. This process incorporates air into the cream. The result is a soft, airy texture. Whipped cream can be sweetened with sugar or flavored with vanilla. It adds a rich, creamy taste to desserts.
Uses In Cake Decoration
Whipped cream is perfect for cake decoration. It provides a smooth, elegant finish. Use it to cover entire cakes or add delicate touches. Piping whipped cream creates beautiful, intricate designs. Swirls, rosettes, and borders are some popular choices. Whipped cream also pairs well with fruits and other toppings. It enhances the cake’s presentation and flavor.
Ingredients Needed
Creating whipped cream at home for cake decoration is simple and rewarding. Understanding the ingredients needed is essential for achieving the perfect texture and taste. Let’s explore the must-have and optional ingredients for making delicious homemade whipped cream.
Essential Ingredients
To make whipped cream, you need just a few basic ingredients:
- Heavy Cream: Use cold heavy cream with at least 36% fat content. It whips up best and holds its shape well.
- Sugar: Granulated sugar or powdered sugar can be used to sweeten the cream. Powdered sugar dissolves quickly and gives a smoother texture.
- Vanilla Extract: Adds a touch of flavor. Pure vanilla extract is preferred for a richer taste.
Optional Add-ins
You can enhance your whipped cream with some optional ingredients:
- Other Extracts: Almond, peppermint, or coconut extracts can add unique flavors.
- Food Coloring: Add a few drops of food coloring to match your cake’s theme.
- Stabilizers: Gelatin or cornstarch can help the whipped cream hold its shape longer, especially in warm conditions.
- Liquors: Add a splash of your favorite liquor like rum or brandy for an adult twist.
| Ingredient | Purpose |
|---|---|
| Heavy Cream | Main ingredient, provides the base and volume |
| Sugar | Sweetens the cream |
| Vanilla Extract | Adds flavor |
| Other Extracts | Optional, for varied flavors |
| Food Coloring | Optional, for visual appeal |
| Stabilizers | Optional, for extended stability |
| Liquors | Optional, for added flavor |
Choosing The Right Tools
Making whipped cream at home is a fun and rewarding task. To get the perfect fluffy texture, you need the right tools. The right equipment can make all the difference in the quality of your whipped cream. Let’s explore the best options for mixers and bowls to ensure your whipped cream turns out perfect every time.
Mixer Options
Choosing a mixer is crucial for making whipped cream. Here are some options:
- Hand Mixer: Affordable and easy to use. Great for small batches.
- Stand Mixer: Offers more power and stability. Ideal for larger batches.
- Whisk: Best for small amounts. Requires more effort but gives you control.
Recommended Bowls
The type of bowl you use can affect the whipping process. Consider these options:
| Type | Benefits |
|---|---|
| Metal Bowls | Chill quickly and help cream whip faster. |
| Glass Bowls | Stable and non-reactive. Keep them chilled for best results. |
| Plastic Bowls | Lightweight but may retain grease. Clean thoroughly. |
Using cold bowls and mixers helps the cream whip faster. Place them in the freezer for a few minutes before starting.
Preparing The Ingredients
Preparing the ingredients is the first step to making perfect whipped cream for cake decoration at home. The right ingredients and techniques ensure your whipped cream is fluffy, stable, and delicious. Follow these simple steps to get started.
Chilling The Cream
For the best results, use heavy cream with at least 36% fat. Before whipping, chill the cream in the fridge for at least one hour. This helps the cream whip faster and become more stable.
Also, chill your mixing bowl and beaters. Place them in the fridge or freezer for 15-30 minutes. A cold environment prevents the cream from warming up during whipping.
Measuring Sugar
Sugar adds sweetness and helps stabilize the whipped cream. Use powdered sugar instead of granulated sugar. Powdered sugar dissolves more easily and gives a smoother texture.
Measure out the sugar carefully. Use 2 tablespoons of powdered sugar for every cup of cream. Adjust the amount based on your preference.
Here is a simple table for easy reference:
| Cream | Sugar |
|---|---|
| 1 cup | 2 tablespoons |
| 2 cups | 4 tablespoons |
| 3 cups | 6 tablespoons |
With these steps, you are ready to whip up your cream for cake decoration. Enjoy the process and the delicious results!
Whipping Techniques
Whipping cream is an essential skill for any home baker. The right technique can transform your desserts. Whether you prefer to whisk by hand or use an electric mixer, mastering these methods is key. Let’s dive into the best whipping techniques for creating perfect whipped cream for cake decoration.
Hand Whisking
Hand whisking gives you control over the texture. You’ll need a large bowl and a strong arm. Here’s how to do it:
- Chill the bowl and whisk in the freezer for 15 minutes.
- Pour cold heavy cream into the bowl. Add sugar and vanilla extract.
- Whisk in a circular motion. Start slowly, then pick up speed.
- Continue whisking until soft peaks form. This takes about 5-7 minutes.
Hand whisking creates a light, airy whipped cream. It’s perfect for those who enjoy the process and want a more delicate texture.
Using An Electric Mixer
An electric mixer saves time and effort. It’s ideal for large batches. Follow these steps:
- Chill the mixing bowl and beaters in the freezer for 15 minutes.
- Pour cold heavy cream into the bowl. Add sugar and vanilla extract.
- Start the mixer on low speed. Gradually increase to medium-high.
- Mix until soft peaks form, usually 2-3 minutes.
An electric mixer produces consistent results. It’s a great option for busy bakers or those with limited strength.
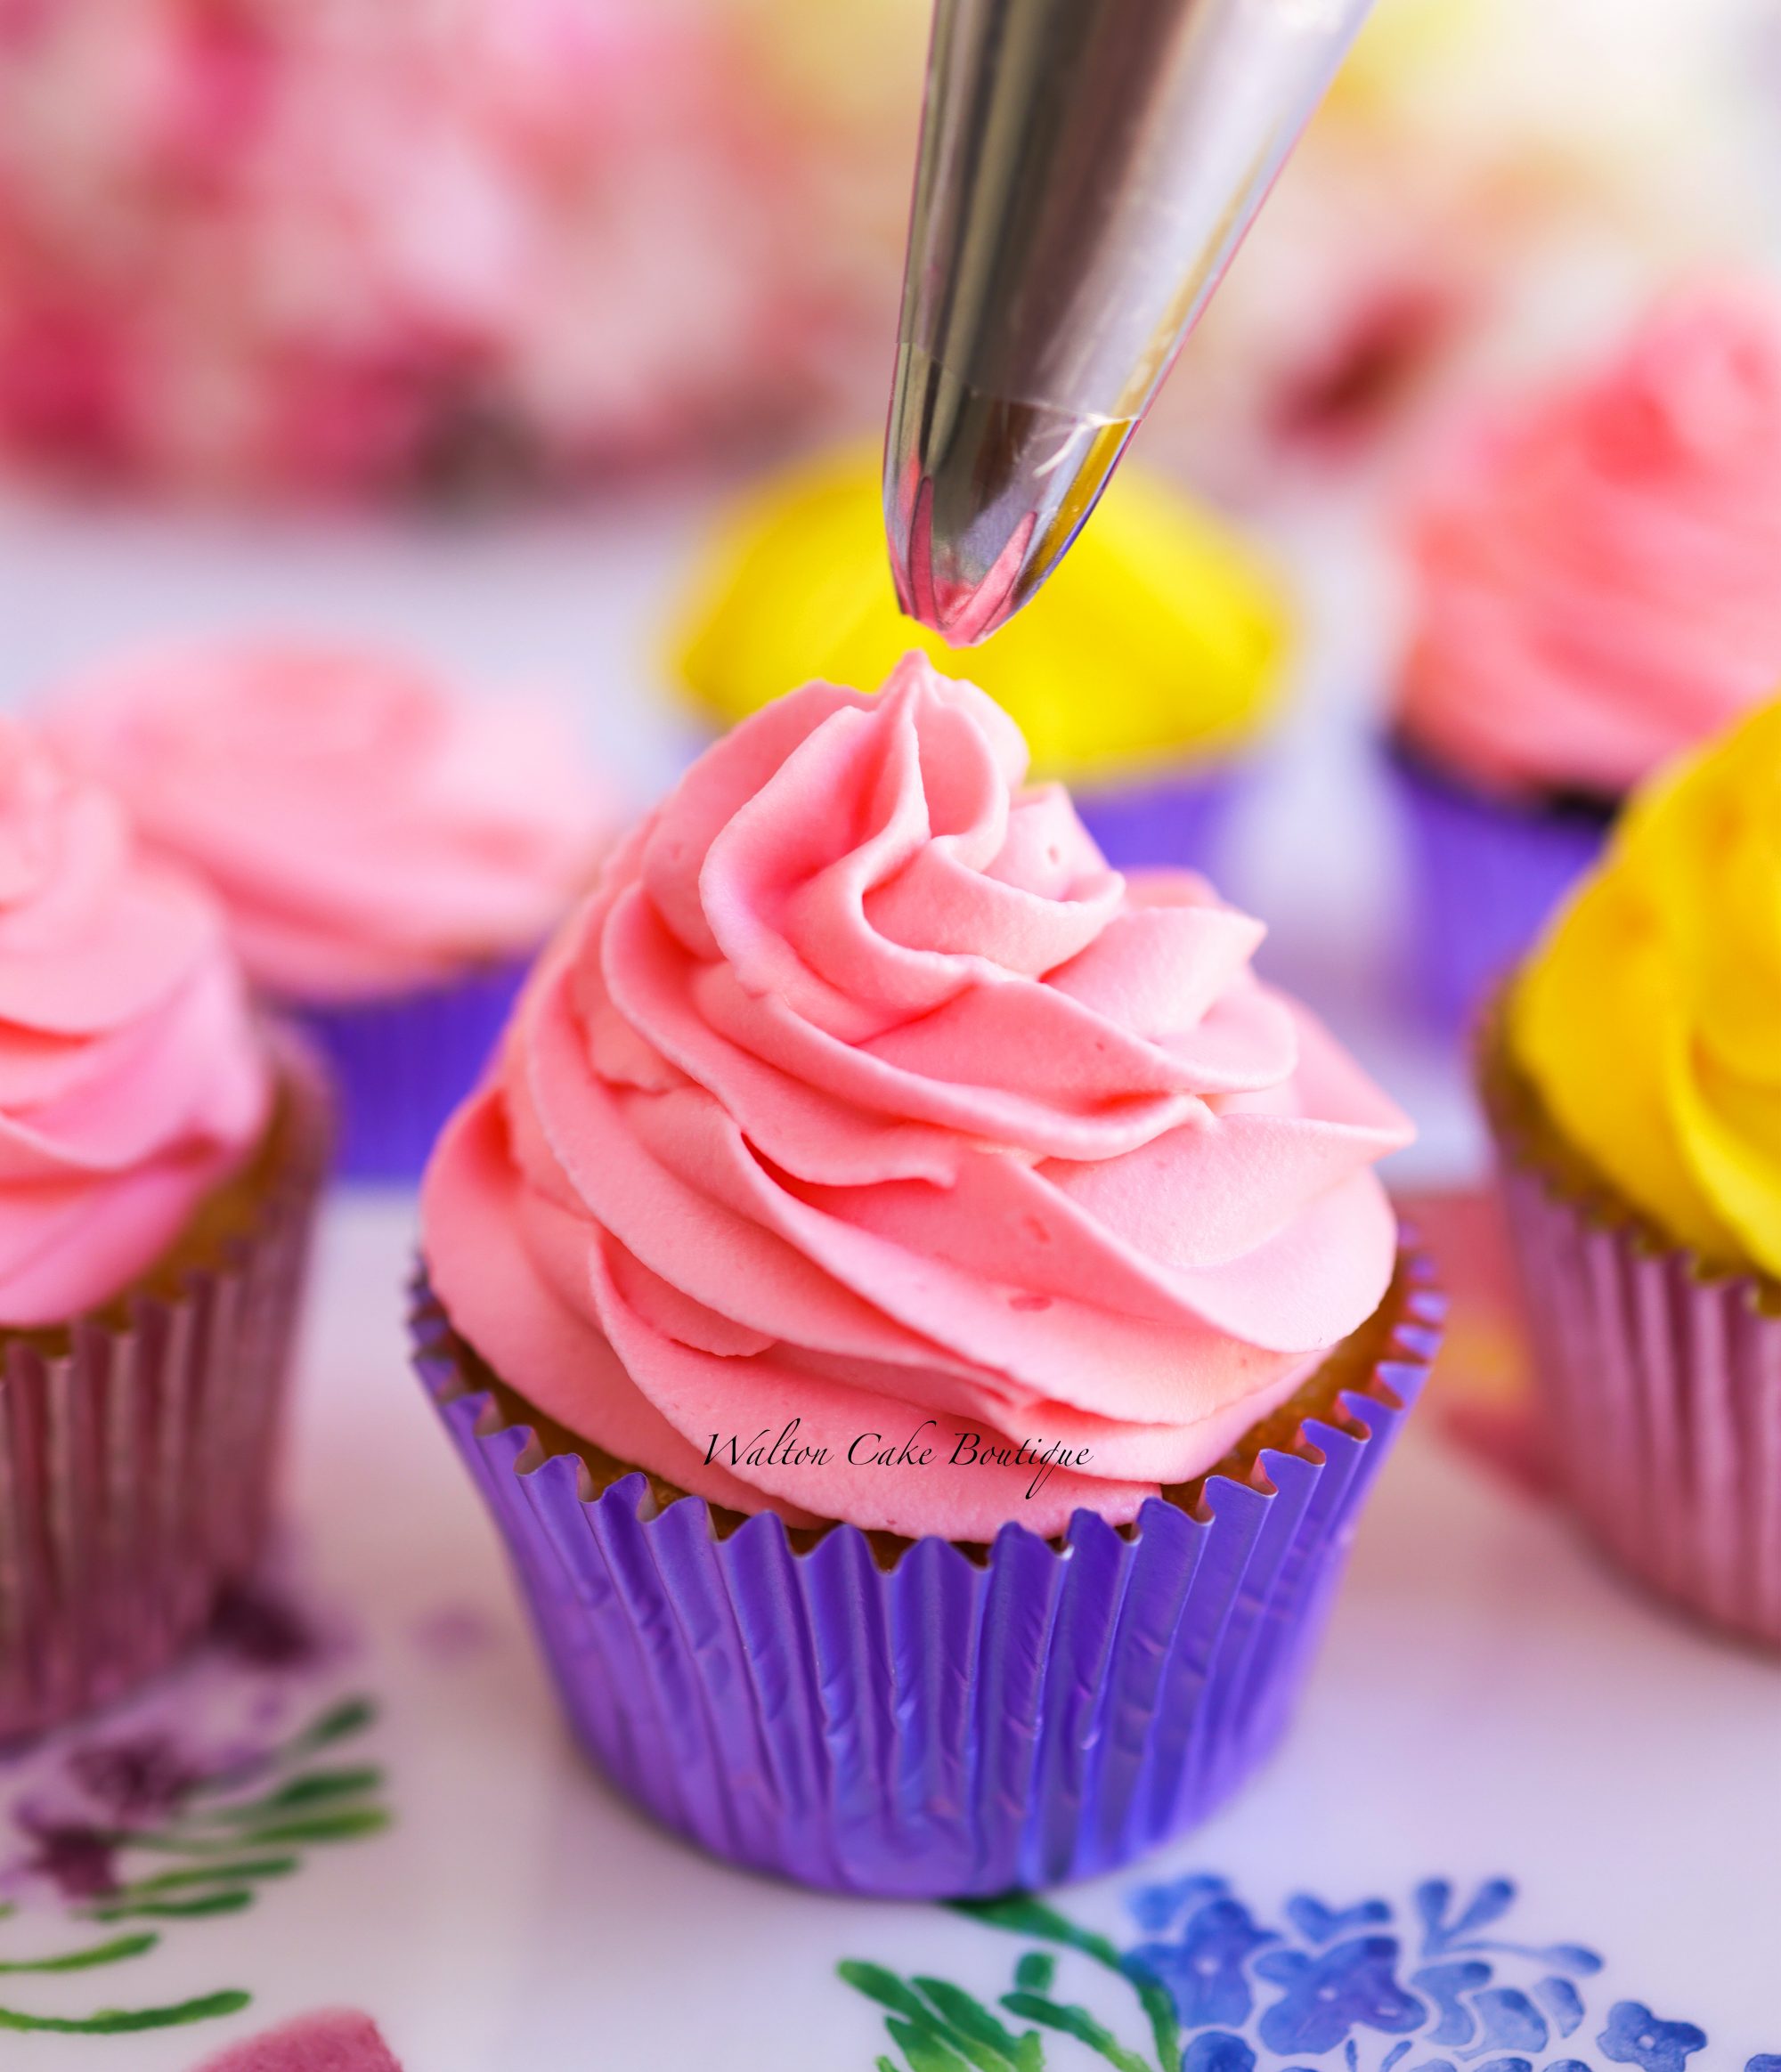
Credit: waltoncakeboutique.com
Achieving Desired Consistency
Whipped cream consistency is crucial for cake decoration. The texture needs to be just right. Too soft and it won’t hold shape. Too stiff and it might crack. Understanding the different stages of whipped cream can help achieve the perfect consistency.
Soft Peaks
Soft peaks are the initial stage. At this stage, the cream is lightly whipped. It should hold its shape but still be soft. When you lift the whisk, the peaks will curl down. Soft peaks are ideal for gentle decoration. They create a smooth, silky texture on the cake.
Stiff Peaks
Stiff peaks form after further whipping. The cream becomes firmer and more stable. When you lift the whisk, the peaks stand straight. Stiff peaks are perfect for detailed decoration. They hold intricate shapes and designs. Be careful not to overwhip. Overwhipping can lead to grainy texture and butter formation.
Flavoring Whipped Cream
Flavoring whipped cream can elevate your cake decoration. Simple flavors can transform ordinary whipped cream into a delicious topping. Let’s explore some popular options.
Adding Vanilla
Vanilla is a classic addition. It adds a smooth, sweet flavor. To use vanilla, add a teaspoon of vanilla extract. Whip it into the cream as it thickens. This will give your whipped cream a rich taste.
Incorporating Other Flavors
Other flavors can make your whipped cream unique. Try adding almond extract or a bit of cocoa powder. For a fruity twist, mix in some pureed berries. Lemon or orange zest can add a fresh taste. Ensure any added ingredients are well blended.
Decorating With Whipped Cream
Decorating a cake with whipped cream can turn a simple dessert into a work of art. The light and fluffy texture of whipped cream makes it perfect for creating beautiful designs. With just a few tips and techniques, you can make your cake look professional.
Piping Techniques
Piping whipped cream onto a cake requires a steady hand and some practice. Start by choosing the right nozzle. A star nozzle creates lovely rosettes, while a round nozzle is ideal for smooth lines. Fill your piping bag with whipped cream and hold it at a 90-degree angle to the cake. Apply gentle, even pressure as you move the bag to create your design.
For a simple border, use a zigzag motion. For more intricate designs, try swirling or looping the cream. Practice on a piece of parchment paper before decorating your cake.
Creative Designs
Let your creativity shine with whipped cream decorations. Try making rosettes, spirals, or even flowers. Use food coloring to tint the whipped cream for added visual appeal. Create layers of different colors for a striking effect.
Stencils can add a professional touch. Place a stencil on the cake and pipe whipped cream over it. Carefully remove the stencil to reveal your design. Another idea is to add fruit or chocolate shavings for extra flair. The key is to have fun and experiment with different looks.
Storing And Serving Tips
Whipped cream adds a delightful touch to any cake. But knowing how to store and serve it can make a big difference. Proper storage keeps it fresh, and serving it right ensures the best taste and texture.
Proper Storage
Store whipped cream in an airtight container. This prevents it from absorbing other fridge odors. Keep it in the coldest part of your refrigerator. Whipped cream can last up to two days when stored properly. If the cream starts to separate, give it a gentle whisk. This helps restore its smooth texture.
Serving Suggestions
Always serve whipped cream cold. This keeps it firm and fluffy. Use it to decorate cakes right before serving. This prevents it from melting or losing shape. Pair it with fresh fruits for added flavor. Strawberries, blueberries, and raspberries work well. You can also add a touch of vanilla or sugar for extra sweetness. Remember, less is more. A little whipped cream goes a long way.
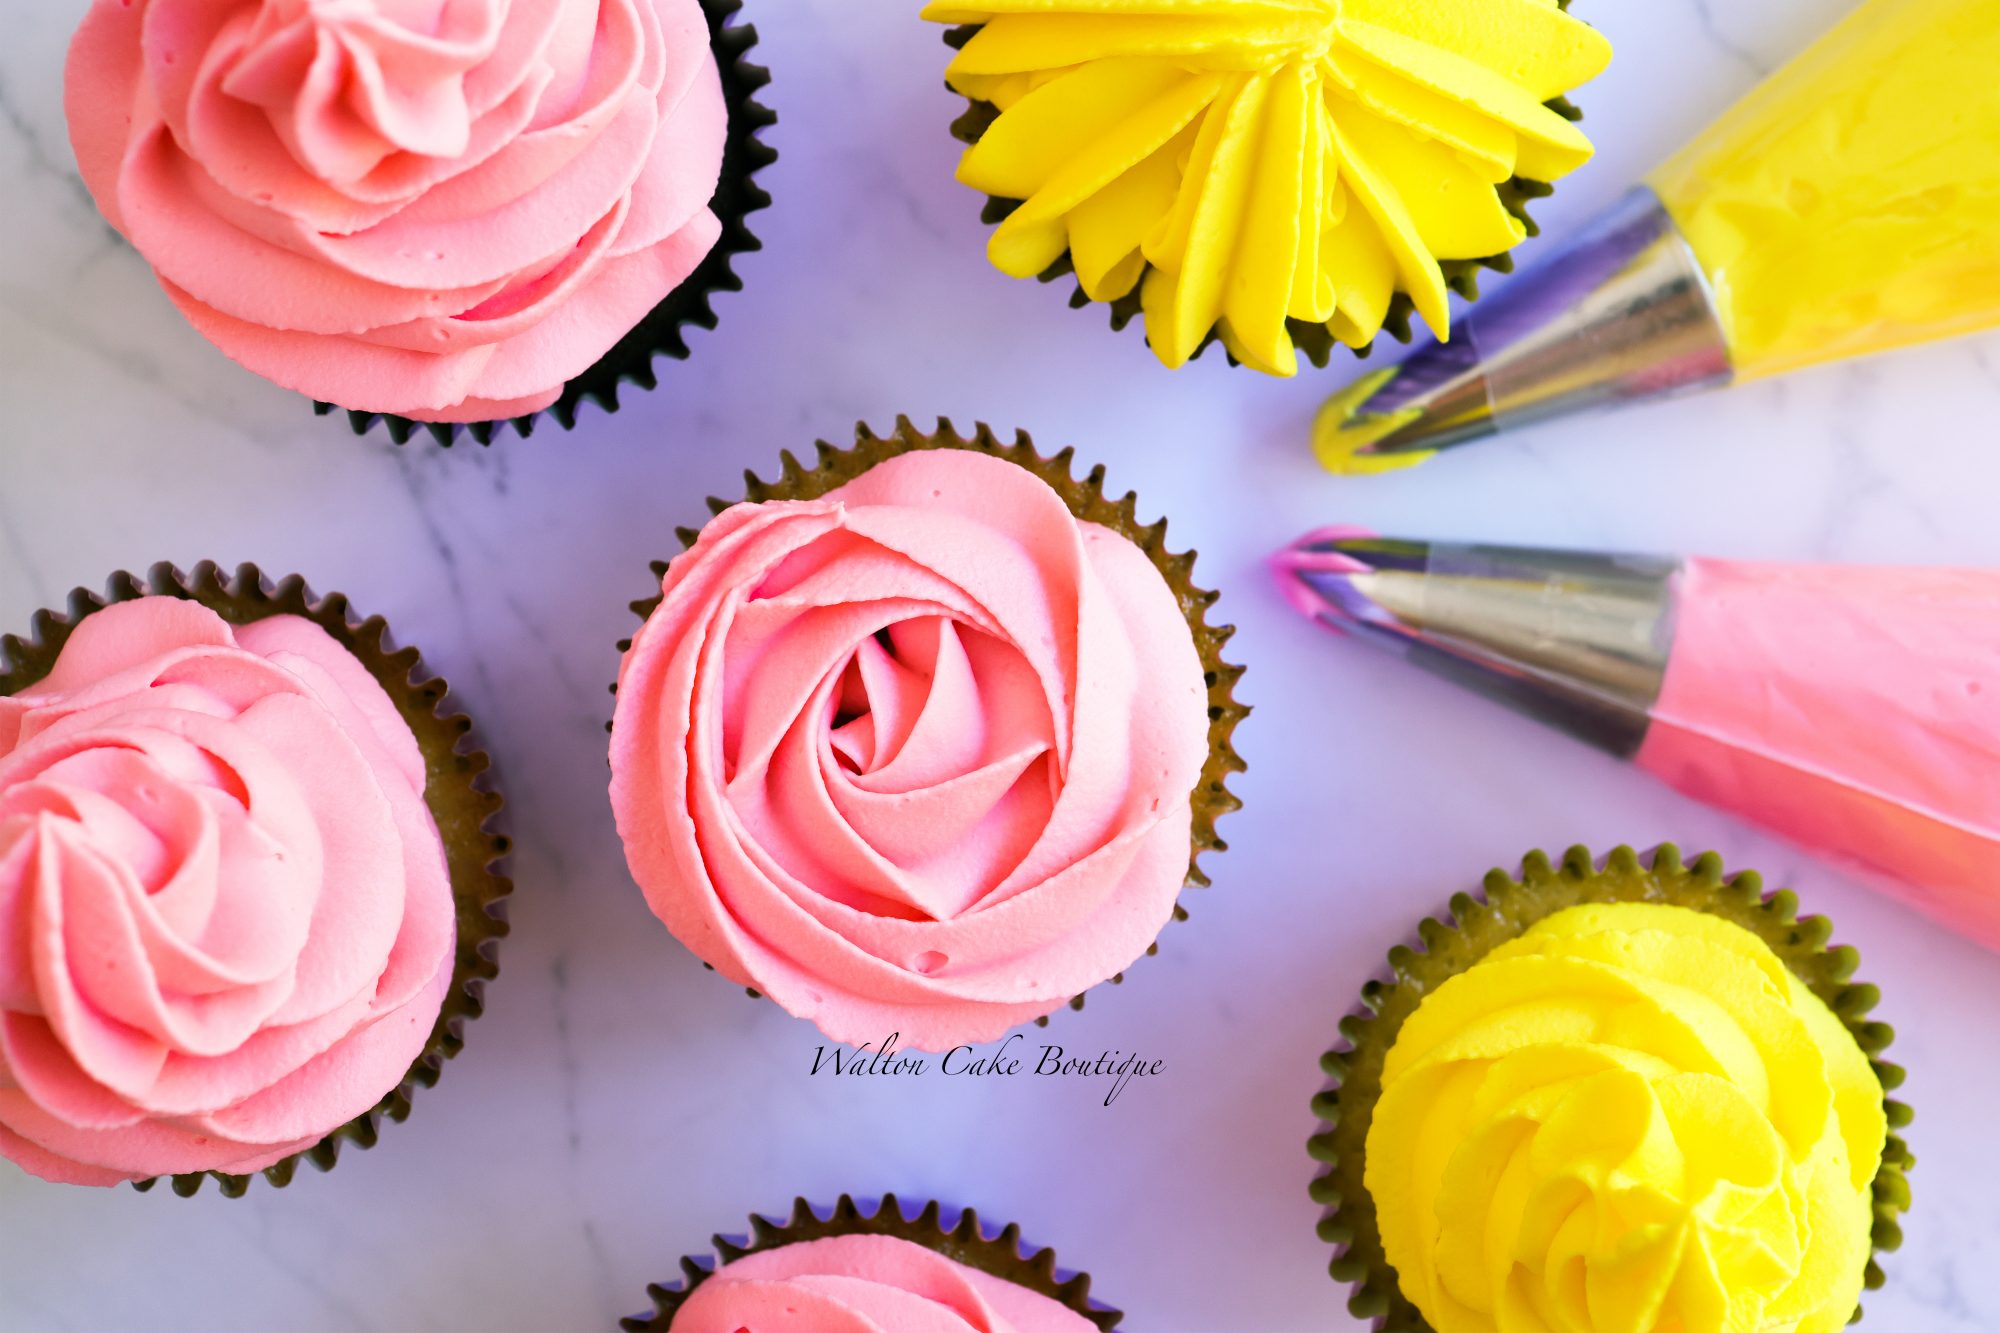
Credit: waltoncakeboutique.com
Troubleshooting Common Issues
Whipped cream can be tricky. Especially when decorating cakes. Let’s explore some common issues and their solutions.
Preventing Overwhipping
Overwhipping can turn your cream grainy. To prevent this, follow these tips:
- Watch the cream closely: Stop whipping as soon as you see firm peaks.
- Use cold equipment: Chill your bowl and beaters before starting.
- Whip at low speed: Begin at a lower speed and gradually increase.
Overwhipped cream can be saved. Add a little more unwhipped cream and gently fold it in. This should bring it back to the right consistency.
Fixing Runny Cream
Runny cream won’t hold its shape. Here’s how to fix it:
- Chill the cream: Place the bowl of cream in the fridge for 15 minutes.
- Use fresh cream: Ensure your cream is fresh and hasn’t expired.
- Add a stabilizer: Use a bit of cornstarch or powdered sugar to thicken it.
If your cream is still runny, try these steps:
- Pour the cream into a chilled bowl.
- Whip it again, but this time start at a low speed.
- Gradually increase the speed as it thickens.
Conclusion
Creating whipped cream at home is easy and rewarding. Freshly made whipped cream enhances any cake. Just follow the steps outlined. Use quality ingredients for the best results. Whip until soft peaks form, but don’t overdo it. Practice makes perfect.
Enjoy your homemade whipped cream and impress your guests. Remember, simple ingredients and patience are key. Happy baking!
