15 DIY Slime For Kids: Fun and Easy Recipes to Try
Slime-making is a fun activity for kids. It keeps them entertained and engaged.
Are you looking for easy DIY slime recipes to try with your kids? You’re in luck! Slime is a wonderful way to combine learning with fun. It helps kids explore science concepts while having a blast. Plus, making slime at home is cost-effective and simple.
You can create different types of slime with common household items. This activity also enhances creativity and fine motor skills. Ready to dive into the world of DIY slime? Let’s get started with these 15 exciting slime recipes that your kids will love. Each one offers a unique twist, ensuring endless hours of fun and learning.
Introduction To Diy Slime
Slime has become a favorite activity for kids everywhere. DIY slime is not just fun; it also encourages creativity and learning. Making slime at home can be a great way to spend time together as a family. Let’s dive into the exciting world of DIY slime!
Benefits Of Making Slime At Home
Creating slime at home provides many benefits. First, it fosters creativity. Kids can choose their own colors and textures. They can experiment and see what happens. This helps develop problem-solving skills.
Second, it is a hands-on activity. This can improve fine motor skills. Kids use their hands to mix and stretch the slime. This strengthens their hand muscles.
Third, it is a sensory experience. Slime feels cool and squishy. This can be calming for some children. It can also help them focus better.
Safety Tips For Kids
Safety is important when making slime. Always supervise young children. Some ingredients can be harmful if ingested.
Use safe, non-toxic ingredients. Avoid using borax if possible. Opt for safer alternatives like baking soda and contact lens solution.
Teach kids to wash their hands after playing with slime. This helps prevent any potential irritation. Also, keep slime away from pets. They might try to eat it.
Store slime properly. Keep it in an airtight container. This prevents it from drying out and keeps it clean.

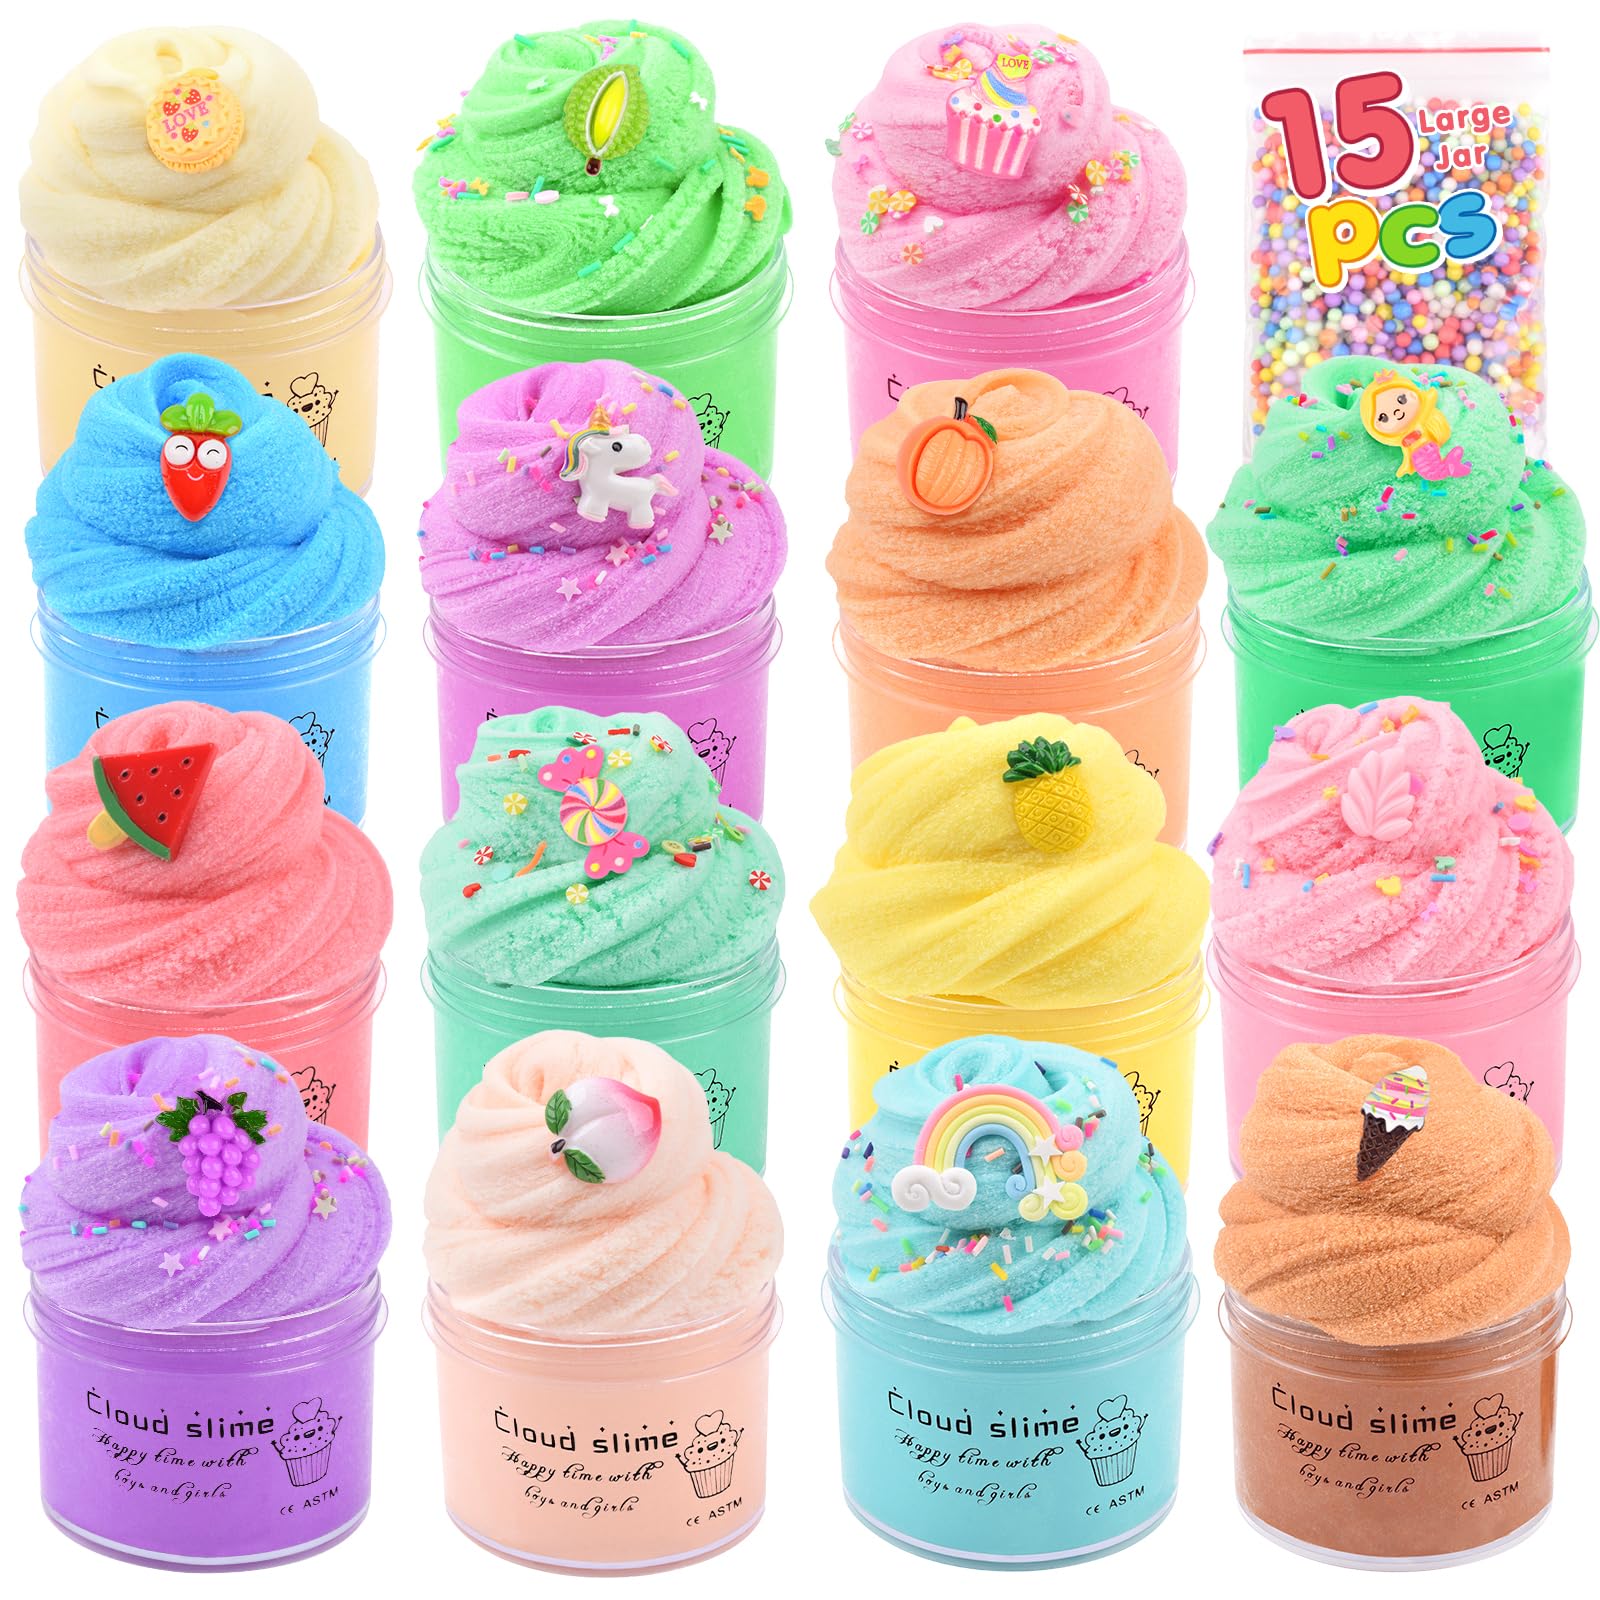
Credit: www.walmart.com
Classic Slime Recipe
Creating slime at home is a fun and educational activity for kids. The classic slime recipe is simple, safe, and easy to follow. It provides a hands-on experience that children love. Let’s dive into how to make this timeless DIY project.
Ingredients Needed
- 1/2 cup of white school glue
- 1/2 cup of water
- 1/2 cup of liquid starch
- Food coloring (optional)
Step-by-step Instructions
First, pour the white school glue into a mixing bowl. Add the water and stir until well combined. If you want colored slime, add a few drops of food coloring. Stir until the color is evenly mixed.
Next, slowly add the liquid starch. Stir continuously as you add the starch. The mixture will start to thicken and form slime. Keep stirring until it reaches the desired consistency.
Once the slime is ready, take it out of the bowl. Knead it with your hands for a few minutes. This will help improve its texture. If the slime is too sticky, add a bit more liquid starch. If it is too stiff, add a little water.
Now, the classic slime is ready to play with. Store it in an airtight container to keep it fresh. Enjoy hours of fun with this easy DIY slime recipe.
Fluffy Slime
Fluffy slime is a fun and easy DIY project for kids. It is soft, stretchy, and has a unique texture that kids love. Making fluffy slime is a great way to introduce children to basic chemistry concepts. Plus, it’s a perfect activity for a rainy day or a creative playdate.
Materials Required
- White school glue
- Shaving cream
- Food coloring
- Contact lens solution
- Baking soda
- Mixing bowl
- Spoon
Making The Slime
Start by pouring the white school glue into the mixing bowl. Add a few drops of food coloring to the glue. Stir well until the color is even. Next, add a generous amount of shaving cream to the bowl. The more shaving cream you add, the fluffier the slime will be. Mix the shaving cream and glue together until smooth.
Once the mixture is smooth, add a teaspoon of baking soda. Stir well to combine. Slowly add the contact lens solution to the mixture. Add a little at a time while stirring constantly. The slime will start to form and pull away from the sides of the bowl. Continue to mix until the slime is no longer sticky.
Finally, knead the slime with your hands until it reaches the desired consistency. If the slime is too sticky, add a bit more contact lens solution. If it is too stiff, add a bit more glue. Now, your fluffy slime is ready for play!
Glitter Slime
Glitter slime is a dazzling treat for kids. It sparkles and shines, adding a magical touch to the slime experience. Kids love watching the glitter mix and swirl. They can create endless patterns and designs.
Supplies List
To make glitter slime, you need a few basic supplies. Gather these items:
- Clear school glue (1 cup)
- Warm water (1 cup)
- Liquid starch (1/2 cup)
- Fine glitter (various colors)
- Mixing bowl
- Mixing spoon
Creating The Sparkle
Start by pouring the clear glue into the mixing bowl. Add the warm water and stir well. Now, pour in the glitter. Be generous with the glitter for extra sparkle. Mix until the glitter is evenly distributed. Next, slowly add the liquid starch. Stir continuously as the slime begins to form. Knead the slime with your hands until it reaches the desired consistency. If the slime is too sticky, add a bit more starch. Keep kneading until it feels just right. Your glitter slime is ready to play with!
Glow-in-the-dark Slime
Are you ready to add a magical twist to your slime-making adventures? Glow-in-the-Dark Slime is the perfect way to excite and entertain kids. This slime not only feels amazing but also glows in the dark, making it a thrilling experience for kids of all ages. Let’s dive into how you can create this mesmerizing slime at home.
What You Need
- Clear glue
- Water
- Glow-in-the-dark paint
- Baking soda
- Contact lens solution
- Mixing bowls
- Mixing spoon
How To Make It Glow
First, pour the clear glue into a mixing bowl. Add water to the glue and mix well. This step helps to create the right slime consistency.
Next, add a few drops of glow-in-the-dark paint. Stir until the paint is fully mixed with the glue and water. The more paint you add, the brighter the glow.
Now, sprinkle baking soda into the mixture. Stir again to blend everything together. The baking soda helps to activate the slime.
Finally, add the contact lens solution. Pour it in slowly while stirring. The slime will start to form and pull away from the sides of the bowl.
Knead the slime with your hands until it reaches the perfect stretchy consistency. Don’t worry if it feels sticky at first; it will get better as you knead.
To make your slime glow, expose it to a light source. The longer you expose it, the brighter it will glow. Once charged, turn off the lights and watch the magic happen!
Magnetic Slime
Magnetic slime is a fun and educational DIY project for kids. It combines the sensory play of slime with the fascinating properties of magnets. Kids will be amazed as they watch the slime move and stretch towards magnets. This activity is perfect for sparking curiosity and creativity.
Necessary Items
- White school glue (1/2 cup)
- Liquid starch (1/2 cup)
- Iron oxide powder (1 tablespoon)
- Neodymium magnets
- Disposable gloves
- Mixing bowl
- Spoon or stick for stirring
Steps To Follow
- Put on disposable gloves to protect your hands.
- Pour 1/2 cup of white school glue into a mixing bowl.
- Add 1 tablespoon of iron oxide powder to the glue.
- Stir the mixture until the powder is well combined.
- Slowly add 1/2 cup of liquid starch to the mixture.
- Continue stirring until the slime begins to form.
- Knead the slime with your hands until it reaches the desired consistency.
- Test the slime with neodymium magnets.
- Watch the slime stretch and move towards the magnets.
- Store the magnetic slime in an airtight container.
Edible Slime
Kids love slime. But parents worry about safety. That’s why edible slime is perfect. It’s fun and safe to eat. Let’s dive into making some.
Safe Ingredients
Using safe ingredients is crucial. We want kids to enjoy slime safely. Here are the ingredients you need:
- Marshmallows – 1 cup
- Cornstarch – 1/2 cup
- Coconut oil – 1 tablespoon
- Food coloring – a few drops
Preparation Method
Making edible slime is easy. Follow these steps:
- Put 1 cup of marshmallows in a microwave-safe bowl.
- Add 1 tablespoon of coconut oil.
- Microwave for 30 seconds. Stir until smooth.
- Add a few drops of food coloring. Mix well.
- Gradually add 1/2 cup of cornstarch. Stir continuously.
- Knead the mixture with your hands until smooth.
Your edible slime is ready! Kids can play and eat it safely.
Butter Slime
Butter Slime is an amazing DIY project for kids. It has a smooth, soft texture that can stretch and be molded into different shapes. Kids love the buttery feel and the fun of making it themselves. Let’s dive into the essential components and the steps to achieve that perfect smooth texture.
Essential Components
Creating Butter Slime requires a few simple ingredients. Here’s a list of what you need:
- White school glue – 1 cup
- Shaving cream – 1/2 cup
- Contact lens solution – 1 tablespoon
- Baking soda – 1 teaspoon
- Soft clay – 1/2 cup
- Food coloring (optional) – a few drops
Ensure you have all these materials ready before starting. It makes the process smoother and more enjoyable.
Making The Smooth Texture
Follow these steps to achieve the perfect Butter Slime texture:
- Pour the white school glue into a mixing bowl.
- Add the shaving cream and mix until well combined.
- Sprinkle in the baking soda and stir thoroughly.
- Add a few drops of food coloring if desired.
- Gradually add the contact lens solution while stirring. The mixture will start to come together.
- Knead the slime with your hands until it no longer sticks to the bowl.
- Mix in the soft clay to give it that smooth, buttery texture.
By following these steps, you will create a delightful Butter Slime that kids will love. It’s soft, stretchy, and so much fun to play with!
Galaxy Slime
Creating Galaxy Slime is a fun and engaging activity for kids. It combines science, creativity, and a bit of magic. This DIY project brings the beauty of the cosmos right to your home. With its vibrant colors and sparkly stars, galaxy slime will captivate any child’s imagination.
Required Materials
To make galaxy slime, you need a few simple materials:
- Clear glue – 1 cup
- Baking soda – 1 teaspoon
- Saline solution – 2 tablespoons
- Food coloring – purple, blue, black
- Glitter – silver, blue, purple
- Water – 1 cup
- Mixing bowls – 3 small bowls
- Stir sticks – 3 sticks
Creating The Cosmic Look
Follow these steps to achieve the cosmic look:
- In each mixing bowl, pour 1/3 cup of clear glue.
- Add 1/3 cup of water to each bowl and stir well.
- In the first bowl, add a few drops of purple food coloring. Stir until the color is even.
- In the second bowl, add a few drops of blue food coloring. Stir until the color is even.
- In the third bowl, add a few drops of black food coloring. Stir until the color is even.
- Sprinkle glitter into each bowl. Mix well to distribute the glitter.
- Add 1/3 teaspoon of baking soda to each bowl. Stir to combine.
- Slowly add 2 teaspoons of saline solution to each bowl. Mix until the slime starts to form.
- Knead the slime with your hands until it reaches the desired consistency.
- Combine the three colors of slime by twisting and folding them together. Do not over-mix to keep the galaxy effect.
Now, your galaxy slime is ready to play with! Enjoy the magical colors and sparkles.
Crunchy Slime
Crunchy Slime is an exciting twist on traditional slime. Kids love the satisfying crunching sounds when playing with it. Making Crunchy Slime at home is easy and fun. Follow these steps to create the perfect texture and sound.
Things You Need
- Clear school glue
- Liquid starch
- Water
- Foam beads
- Food coloring (optional)
- Mixing bowl
- Mixing spoon
Steps To Achieve The Crunch
- In the bowl, pour half a cup of clear glue.
- Add half a cup of water and mix well.
- If desired, add a few drops of food coloring.
- Slowly add liquid starch while stirring the mixture.
- Keep stirring until the slime starts to form.
- Once the slime forms, knead it with your hands.
- Add foam beads to the slime for a crunchy texture.
- Mix the beads evenly throughout the slime.
- Your Crunchy Slime is ready for play!
Thermochromic Slime
Thermochromic slime is an exciting DIY project for kids. It changes color with temperature. This slime is not only fun but also educational. Kids can learn about science while playing.
Materials List
- White school glue
- Liquid starch
- Thermochromic pigment
- Water
- Mixing bowls
- Spoons
How To Change Colors
First, mix one part glue with one part water. Stir until smooth. Add a spoonful of thermochromic pigment. Mix well.
Next, slowly add liquid starch. Stir until the slime forms. Knead the slime until it feels stretchy.
To see the color change, warm the slime in your hands. Watch as the heat changes its color. For a quick color change, place the slime in the fridge. Cool it down for a few minutes. The color will shift back.
Snow Slime
Are your kids excited about winter? Snow Slime is a fun way to bring the magic of snow indoors. It’s easy to make and feels just like fresh snow. Kids will love the fluffy, cool texture. Plus, it’s a great sensory activity!
Items Needed
To create Snow Slime, gather these items:
- White school glue
- Baking soda
- Contact lens solution
- Instant fake snow powder
- Water
- Mixing bowl
- Spoon
Making The Snow Effect
First, add 1 cup of white school glue to the mixing bowl. Next, mix in 1 tablespoon of baking soda. Stir well until fully combined. Now, add 2 tablespoons of contact lens solution. Keep stirring until the mixture starts to form. If it’s too sticky, add a few more drops of contact lens solution. Knead the slime until it’s stretchy and smooth.
To create the snow effect, add 1 tablespoon of instant fake snow powder. Slowly pour in a small amount of water. Watch the snow powder expand and fluff up. Mix the snow into the slime until evenly distributed. If needed, add more snow powder for extra fluffiness. Your Snow Slime is ready to play with!
Rainbow Slime
Creating Rainbow Slime is a fun and colorful activity for kids. This DIY project combines vibrant colors, a stretchy texture, and a bit of science. Kids love watching the colors blend and stretch. This activity is perfect for a rainy day or a party.
Supplies Required
- Clear PVA Glue
- Liquid Starch
- Food Coloring (Red, Orange, Yellow, Green, Blue, Purple)
- Small Bowls
- Spoons for Mixing
- Plastic Containers for Storage
Creating The Rainbow Layers
First, gather all the supplies. Ensure you have enough space and cover the work area.
Next, follow these steps:
- In a bowl, mix 1/2 cup of clear glue with 1/2 cup of water.
- Stir until well combined.
- Divide the mixture into six small bowls.
- Add a few drops of food coloring to each bowl. Create one bowl for each color of the rainbow.
- Stir each bowl until the color is even.
- Slowly add 1/4 cup of liquid starch to each bowl. Mix well until the slime forms.
Once you have six colored slimes, it’s time to make the layers.
- Take a small amount of each color and layer them in a container.
- Press each layer gently to avoid mixing the colors too much.
- Continue layering until the container is full.
Now, kids can stretch and play with their Rainbow Slime. Store the slime in an airtight container to keep it fresh. Enjoy the colorful fun!

Credit: www.amazon.com
Scented Slime
Scented slime is a fun twist on traditional slime that kids love. Adding delightful fragrances to slime can make playtime more exciting. Kids enjoy different scents, and it can even be a calming activity.
Fragrant Ingredients
Choose the right ingredients to create scented slime. Essential oils are a popular choice. They come in various scents like lavender, lemon, and peppermint. You can also use food extracts such as vanilla or almond. Fragrance oils work too, but ensure they are skin-safe.
Another option is scented lotions. They provide both fragrance and a smooth texture. Additionally, using scented shampoos can be a great idea. They are easy to find and mix well with slime recipes.
How To Add Scents
Adding scents to slime is simple. First, make your basic slime mixture. Mix glue, water, and any activator like borax or contact lens solution.
Once the slime starts to form, add your chosen scent. For essential oils, add just a few drops. Too much can be overpowering. Mix it well to distribute the scent evenly.
If using food extracts, add a few drops to the slime. Stir thoroughly to blend the fragrance. For scented lotions or shampoos, mix them in at the beginning. This ensures an even scent throughout the slime.
Experiment with different combinations. Kids can create custom-scented slimes. It’s a fun and creative process. Plus, it makes the slime smell amazing.
Tips For Storing Slime
Store slime in an airtight container to keep it fresh. Place it in a cool, dry place away from direct sunlight. This helps maintain its texture and prevents it from drying out.
Keeping your homemade slime fresh and fun can be a challenge. Without proper storage, slime can dry out or become sticky. The right storage tips can help extend its life. Here are some practical tips to store your slime effectively.Best Containers
Choosing the right container is crucial. Airtight containers work best for keeping slime fresh. Plastic containers with lids are easy to find and use. You can also use resealable plastic bags. Ensure the bags are sealed tightly. This prevents air from getting in. Mason jars with lids are another good option. They keep the slime airtight and look neat too.How To Keep Slime Fresh
To keep slime fresh, store it in a cool place. Avoid direct sunlight. Heat can make slime sticky and runny. Refrigerate your slime for added freshness. This helps maintain its texture. If the slime gets sticky, add a bit of baking soda. Knead it until the stickiness goes away. If it dries out, add a few drops of water. Knead it again to restore moisture. Always wash hands before playing with slime. Clean hands keep the slime free of dirt and germs. “`
Credit: www.amazon.com
Conclusion
Creating DIY slime at home is fun and easy. Kids enjoy the process and the result. It’s a great way to engage them in a creative activity. Plus, it can be educational. They learn about mixing and the science behind slime.
Each recipe offers a unique texture and feel. Try different ingredients for endless fun. Remember to supervise young children. Enjoy making these 15 DIY slimes with your kids today. Happy crafting!


